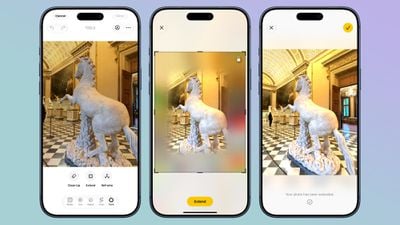
One of the best Photos features in iOS 27, iPadOS 27 and macOS 27 is Extend, a new tool that uses Apple Intelligence to expand a photo beyond its original boundaries. In this article, I’ll show you how to use iOS 27 Extend tool step-by-step. This will also work in iPadOS 27 and macOS 27 Golden Gate.
Instead of cropping an image, Extend works in the opposite direction. The feature generates new image content around the existing photo, creating additional space that was never captured by the camera.
You can expand a vacation photo to include more of a landmark or widen a tightly framed portrait to reveal additional background detail. Extend can also rework older photos to fit wallpapers, social media posts, and widescreen displays.
Results will vary depending on the complexity of the image and the amount of new content the system needs to generate. I tried this with a few images, and the final image AI constructed was really impressive. However, in case the photo does not turn out nice for you, you can always revert the changes and get back the original picture.
Another important thing to know is that there is a limit on how many times you can use the Extend AI tool each day. Now, Apple doesn’t clearly define the limit, but it’s there. However, subscribing to iCloud+ or Apple One increases the daily limit for using all AI tools, including the new Extend feature. Again, we don’t know by how much it increases.
Supported devices
The new Extend feature uses Apple Intelligence, which is Apple’s take on AI. As a result, it’s only available on:
- iPhone 15 Pro or newer running iOS 27.
- iPad mini with A17 Pro chip and iPad Air & iPad Pro with Apple silicon chip running iPadOS 27.
- Mac with an Apple silicon chip (M1, M2, M3, M4, M5, M6) or MacBook Neo with A18 Pro chip running macOS 27 Golden Gate. Intel Macs are not supported.
Use AI to extend a photo on iPhone or iPad
1) Open the iOS 27 Photos app and tap a picture you want to extend.
2) Tap the edit icon and then go to the Tools tab.
3) Select the Extend tool.
4) Use pinch to zoom or drag the tabs on the photo sides to adjust how much and how you want the photo to be created by AI. Then, tap the yellow Extend button.
5) Wait a while until AI extends the picture. Then tap the new photo to see the original and compare them.
6) If you’re happy with the results, tap the checkmark icon, followed by Done to save it.
The Extend tool works on the same original photo; it doesn’t create a copy. So, you’ll find it in the same spot in your photo library as before.
As of iOS 27 Beta 4, Apple has not added a dedicated ‘Extended’ or ‘Modified’ category in its Media Types or Utilities section of the Photos app, making it harder to see all retouched images in one spot.
However, you can swipe on a photo, and if it has been retouched by this AI tool, you’ll see a “Modified with Extend” label.
Extend a photo on Mac
The fundamentals are similar to iPhone and iPad.
1) Launch the macOS 27 Photos app and open a picture.
2) Click the Edit button at the top.
3) Go to the Tools tab at the top.
4) Click the Extend button.
5) Select an aspect ratio or drag the sides to extend them on the supposed canvas.
6) Click the Extend button and wait for Apple Intelligence to generate the photo sides.
7) Finally, click the Save Changes button at the top, followed by Done.
These AI-edited photos on Mac have a “Modified with Extend” label, which you can see by clicking the info icon ⓘ or by pressing the Command + I keys.
Revert the changes
If you change your mind, return to the editing screen in the Photos app on your iPhone, iPad, or Mac, then tap the red Revert button.
How I tested Photos’ Extend tool in iOS 27
To test how effective iOS 27 Extend tool is, I applied it to a wide range of photos I’ve taken with my iPhone 17 Pro Max. Here are some of the great and not-so-great results.



Original, unedited photo (first); first attempt to use Extend (second); another attempt at Extend (third).
For the first test, I headed to the Port of Tripoli, where I attempted to generate a cropped lifebuoy and the background boats towards the right. Unfortunately, Extend failed to recognize the object and limited my extensions to the image’s left edge, producing underwhelming results with both edits.
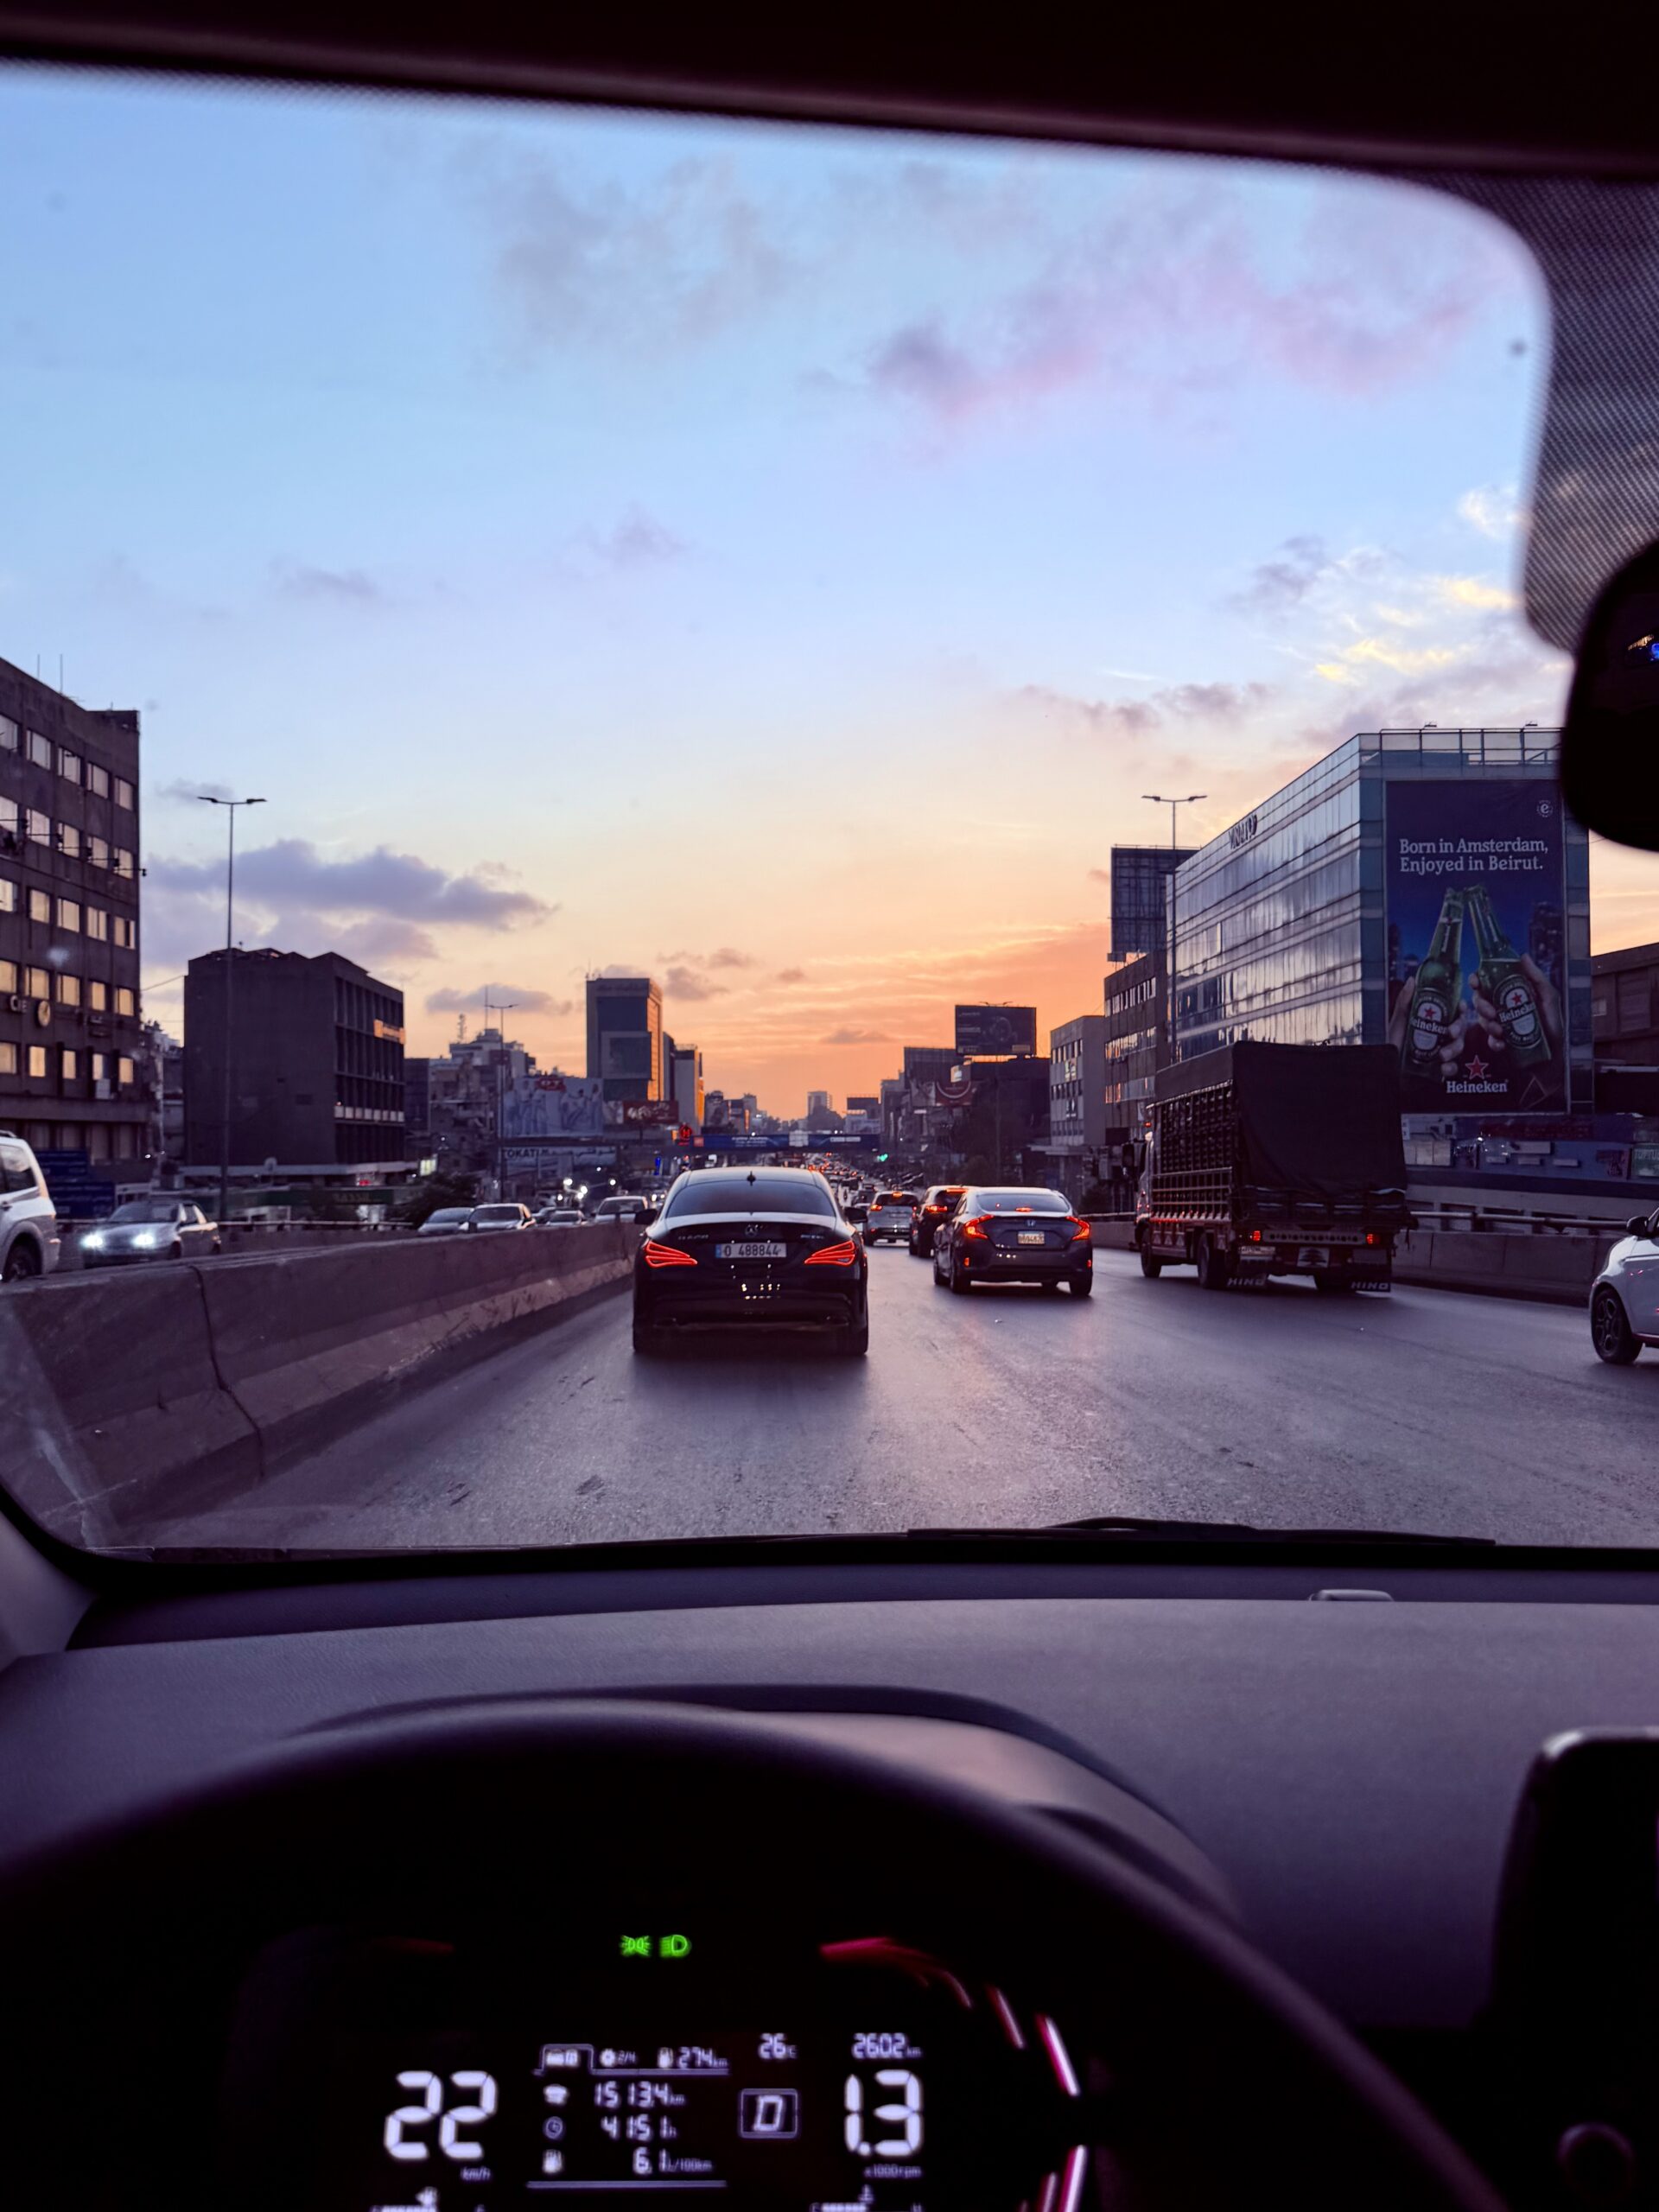
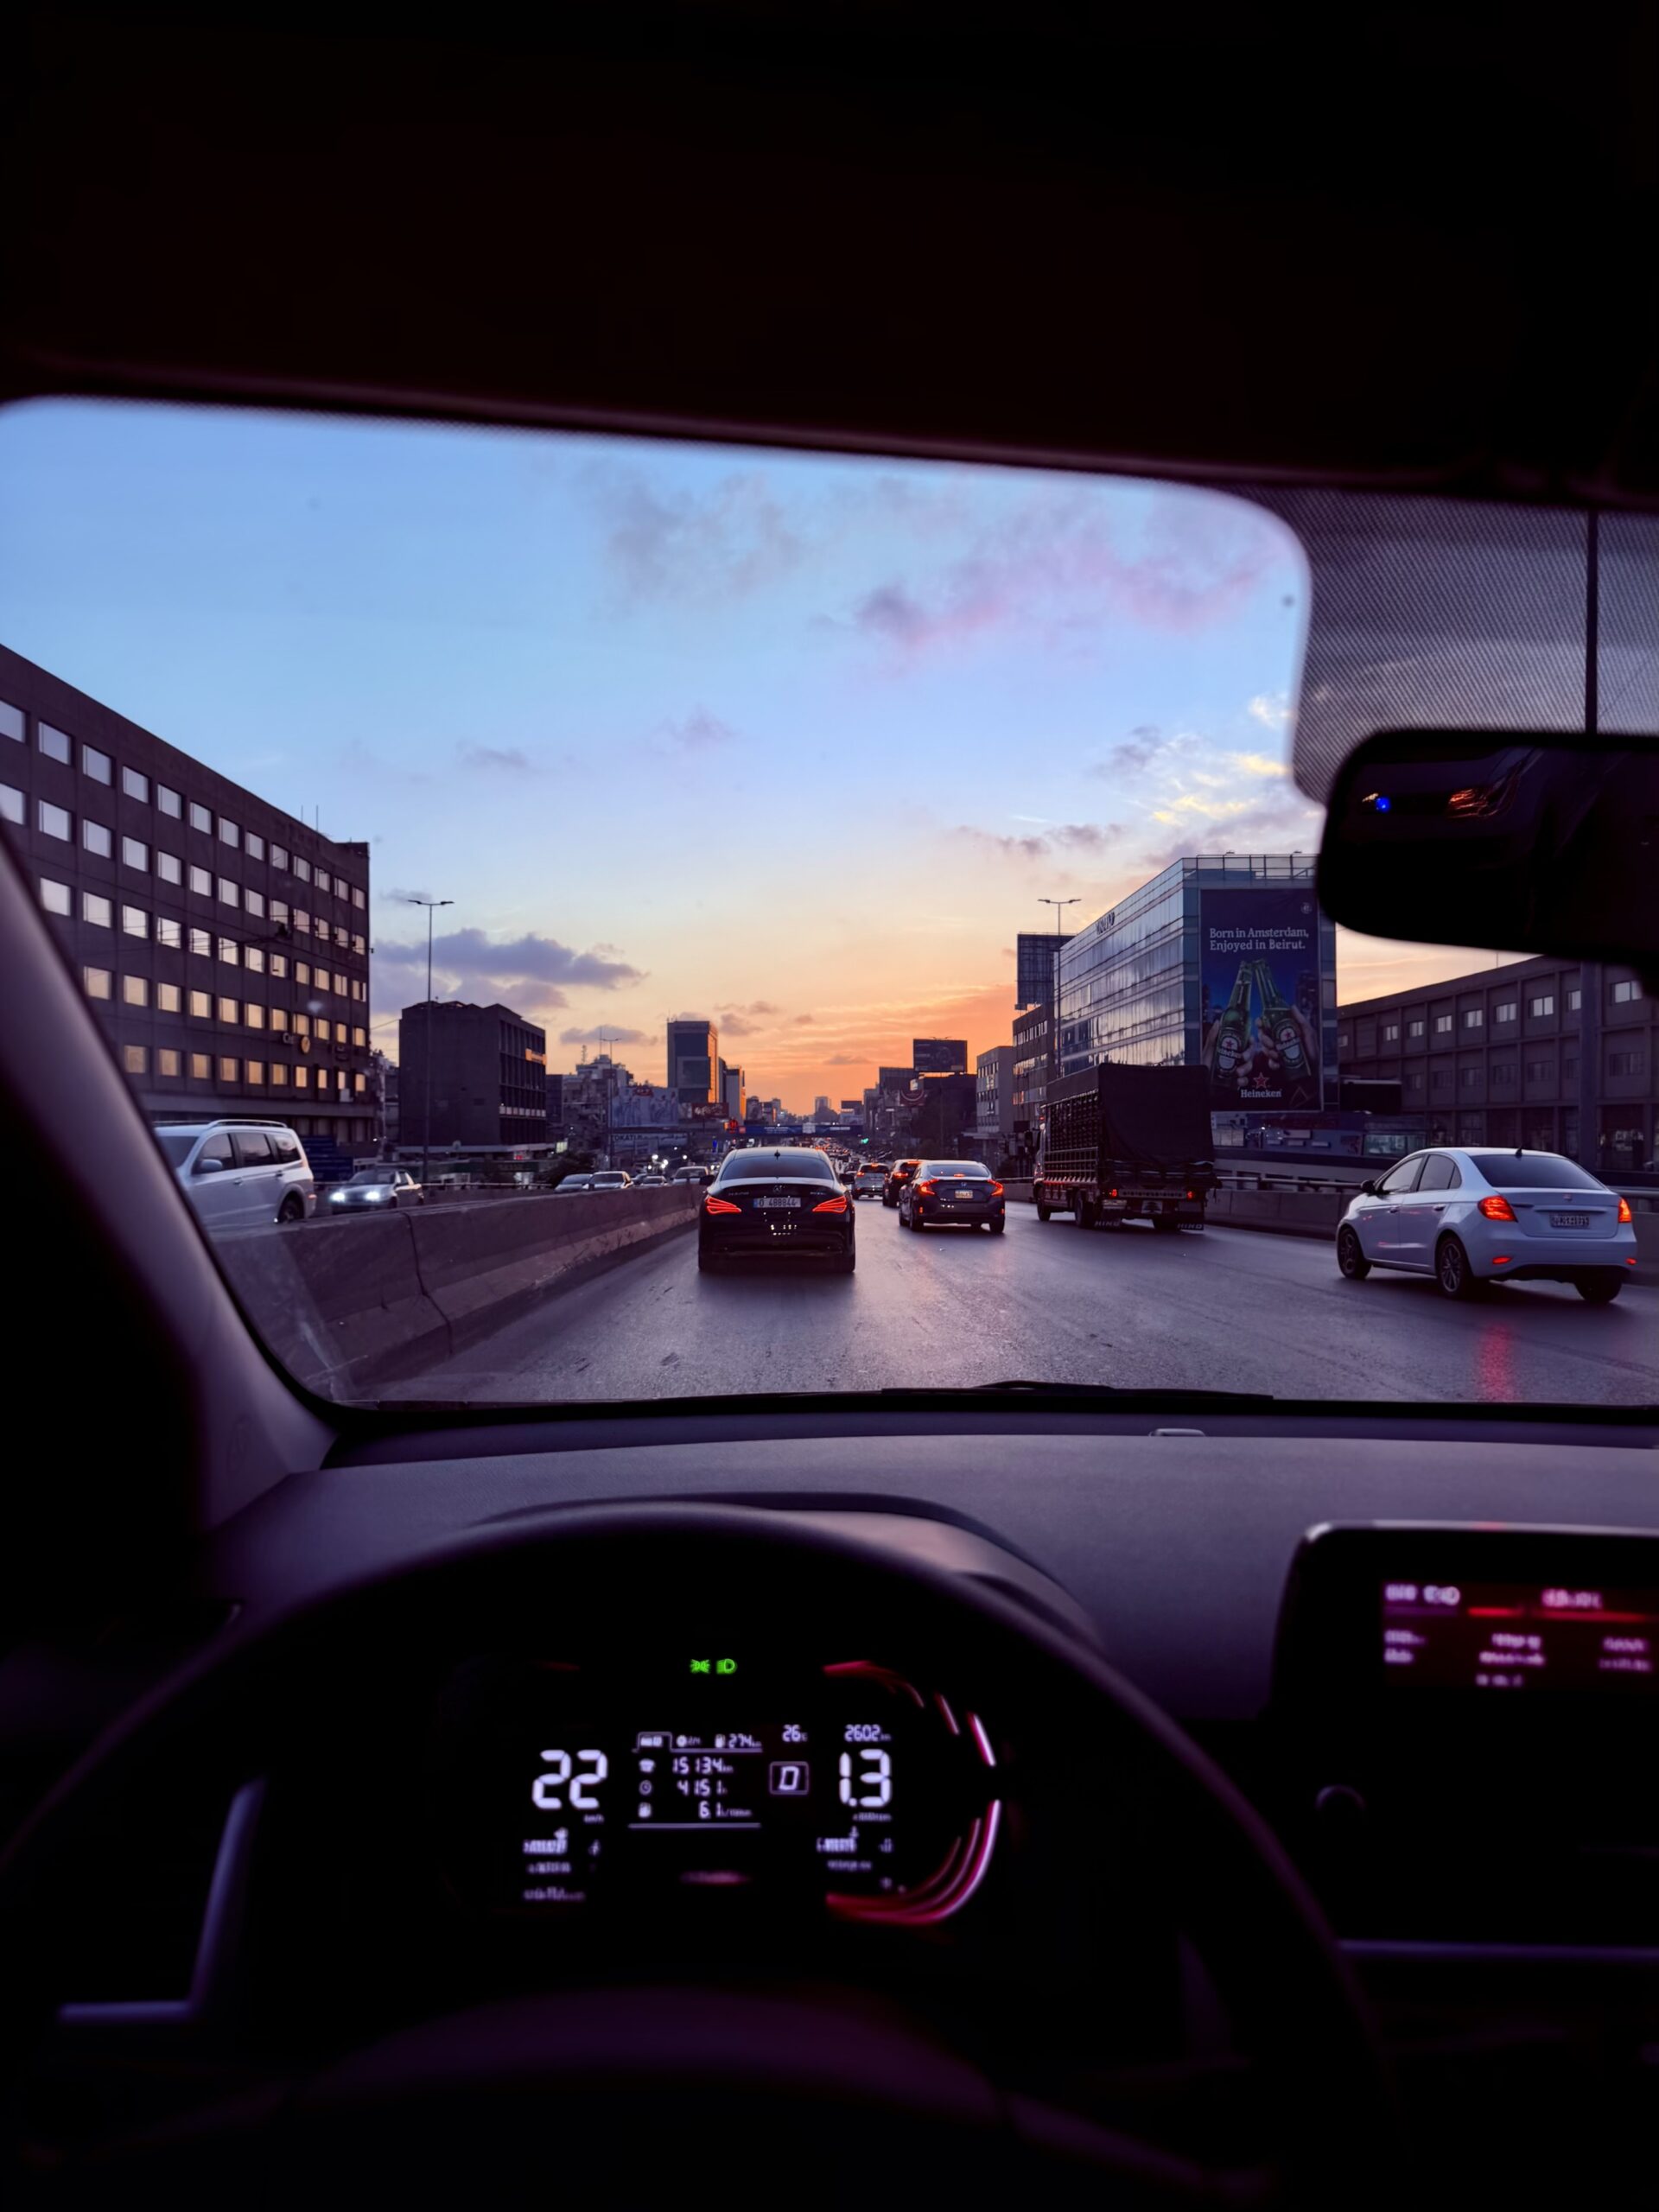
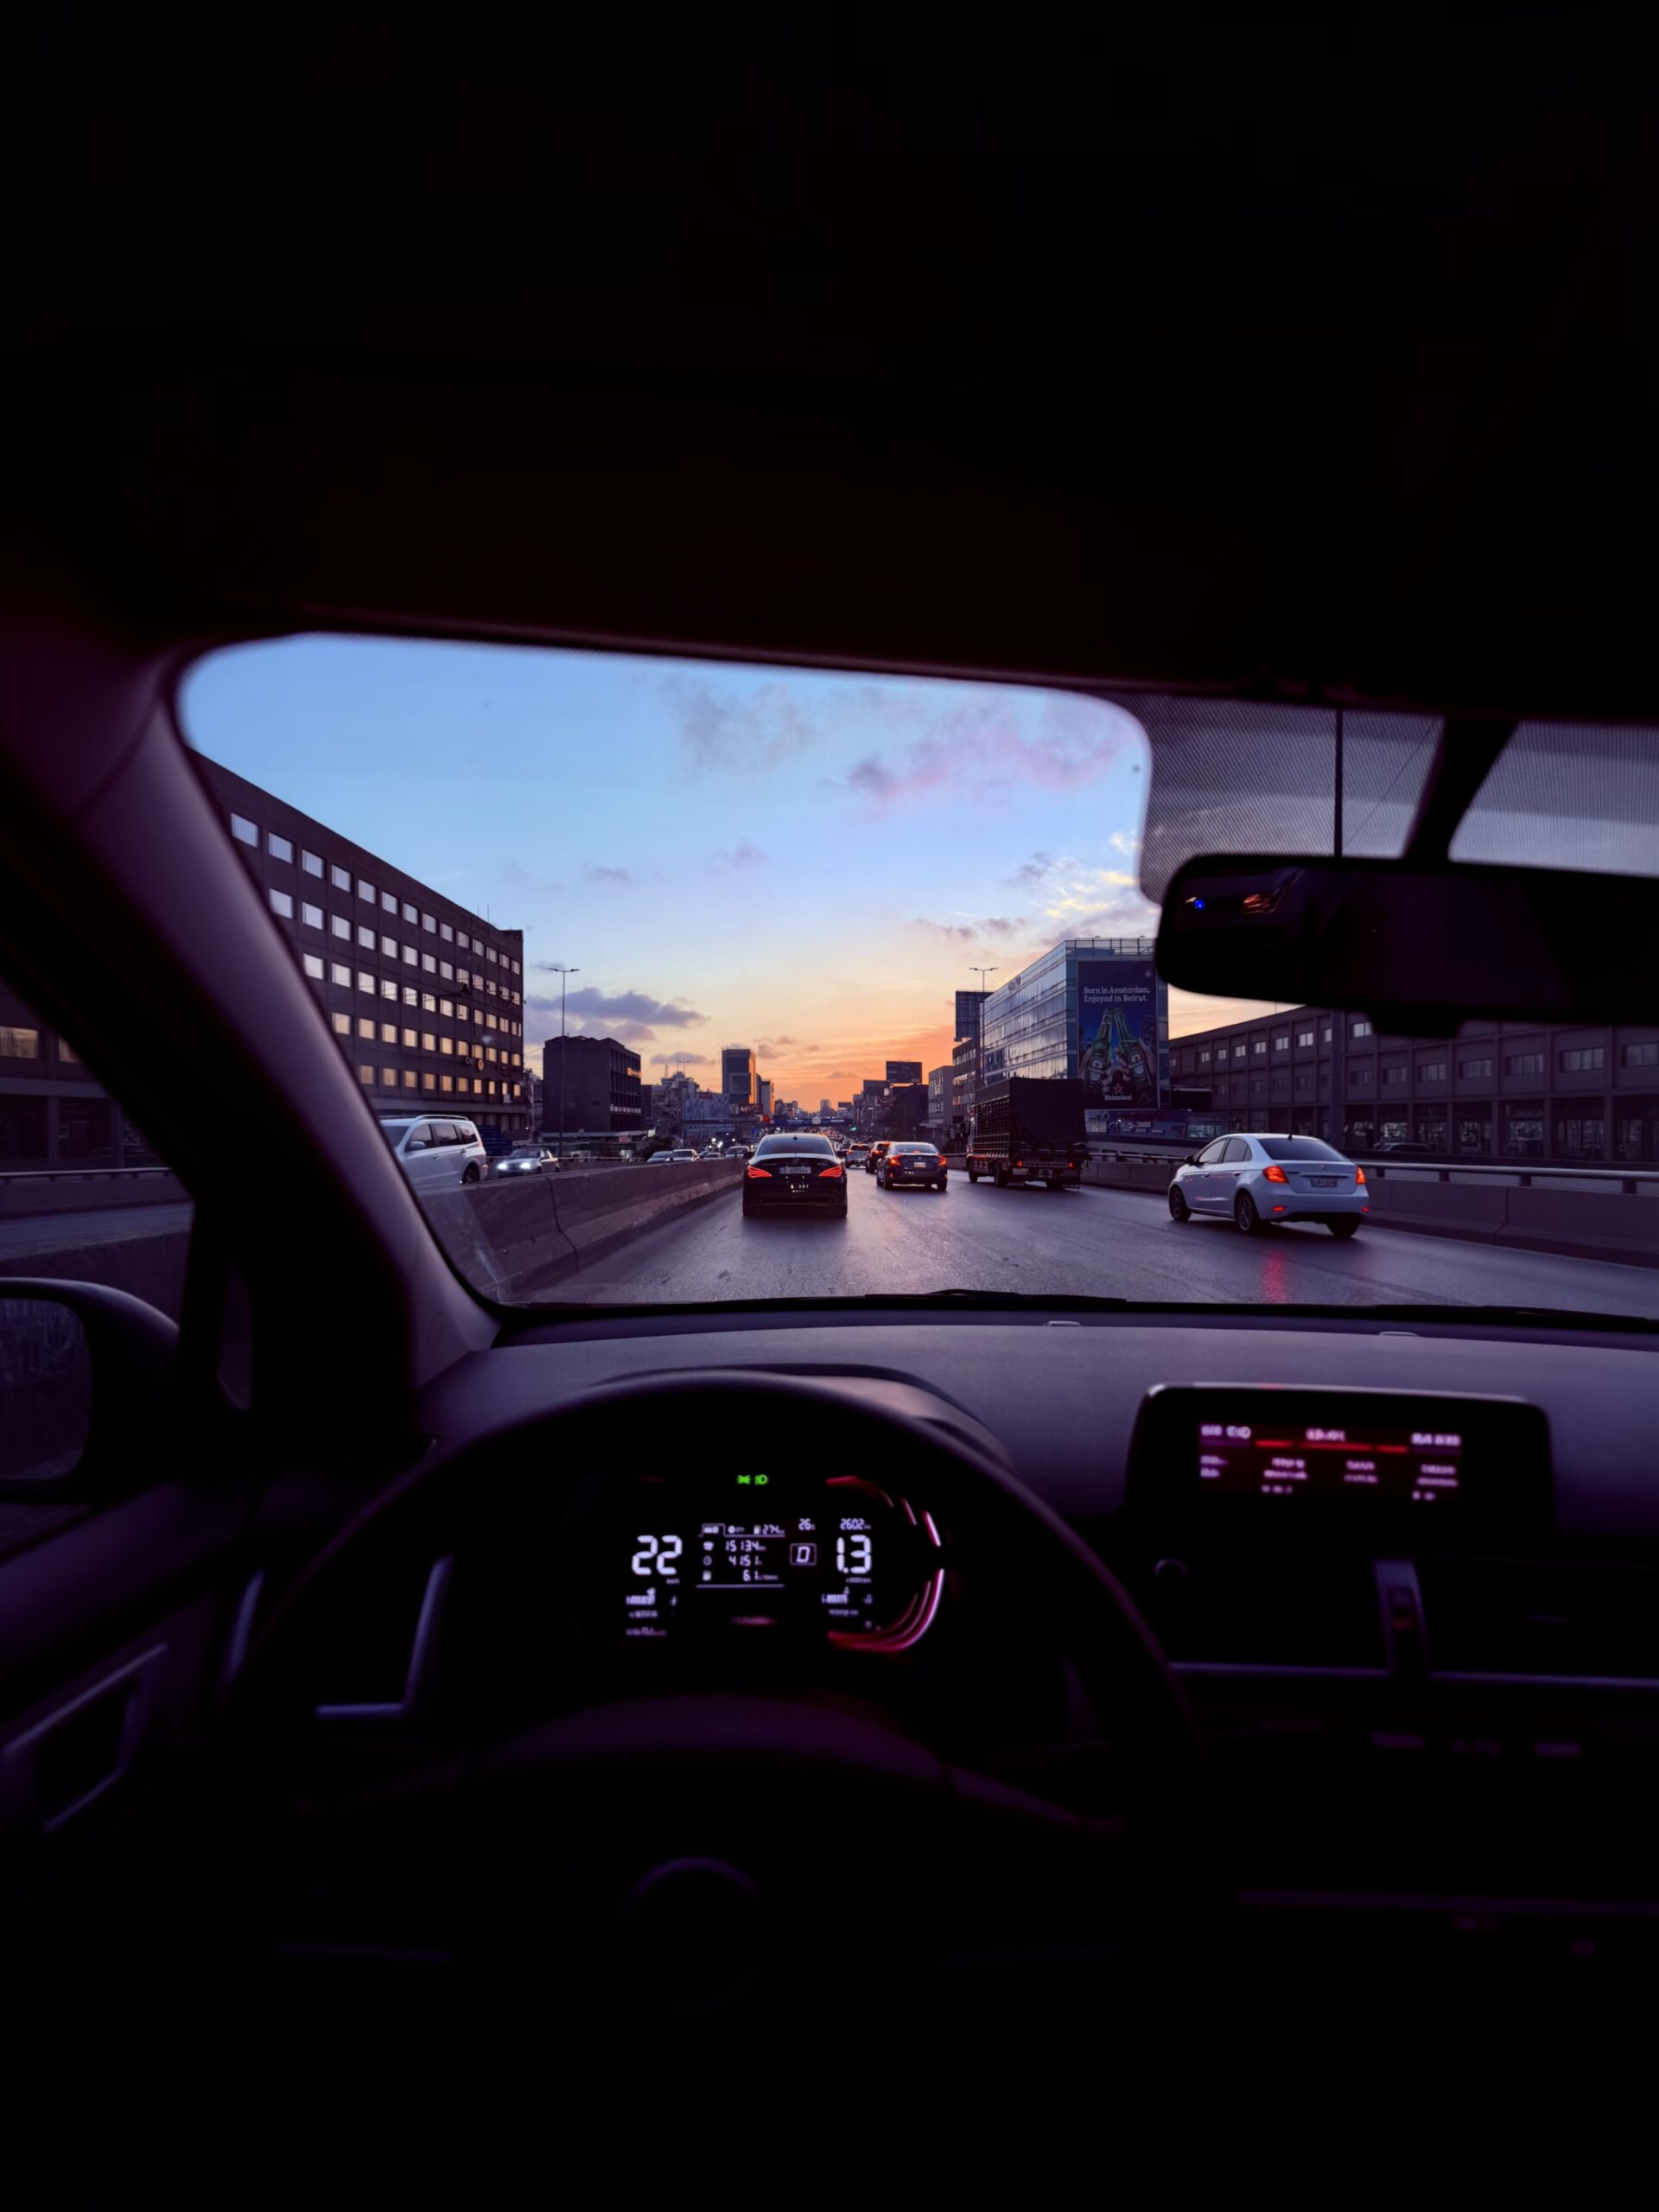
Original, unedited photo (first); first attempt to use Extend (second); another attempt at Extend (third).
For the next test, I had very low expectations, as it was a dimly lit photo of my car’s interior. To my surprise, the first extension correctly identified the infotainment system’s display and generated a relevant result. The second edit similarly estimated the car’s borders, accurately generating the left mirror and window.
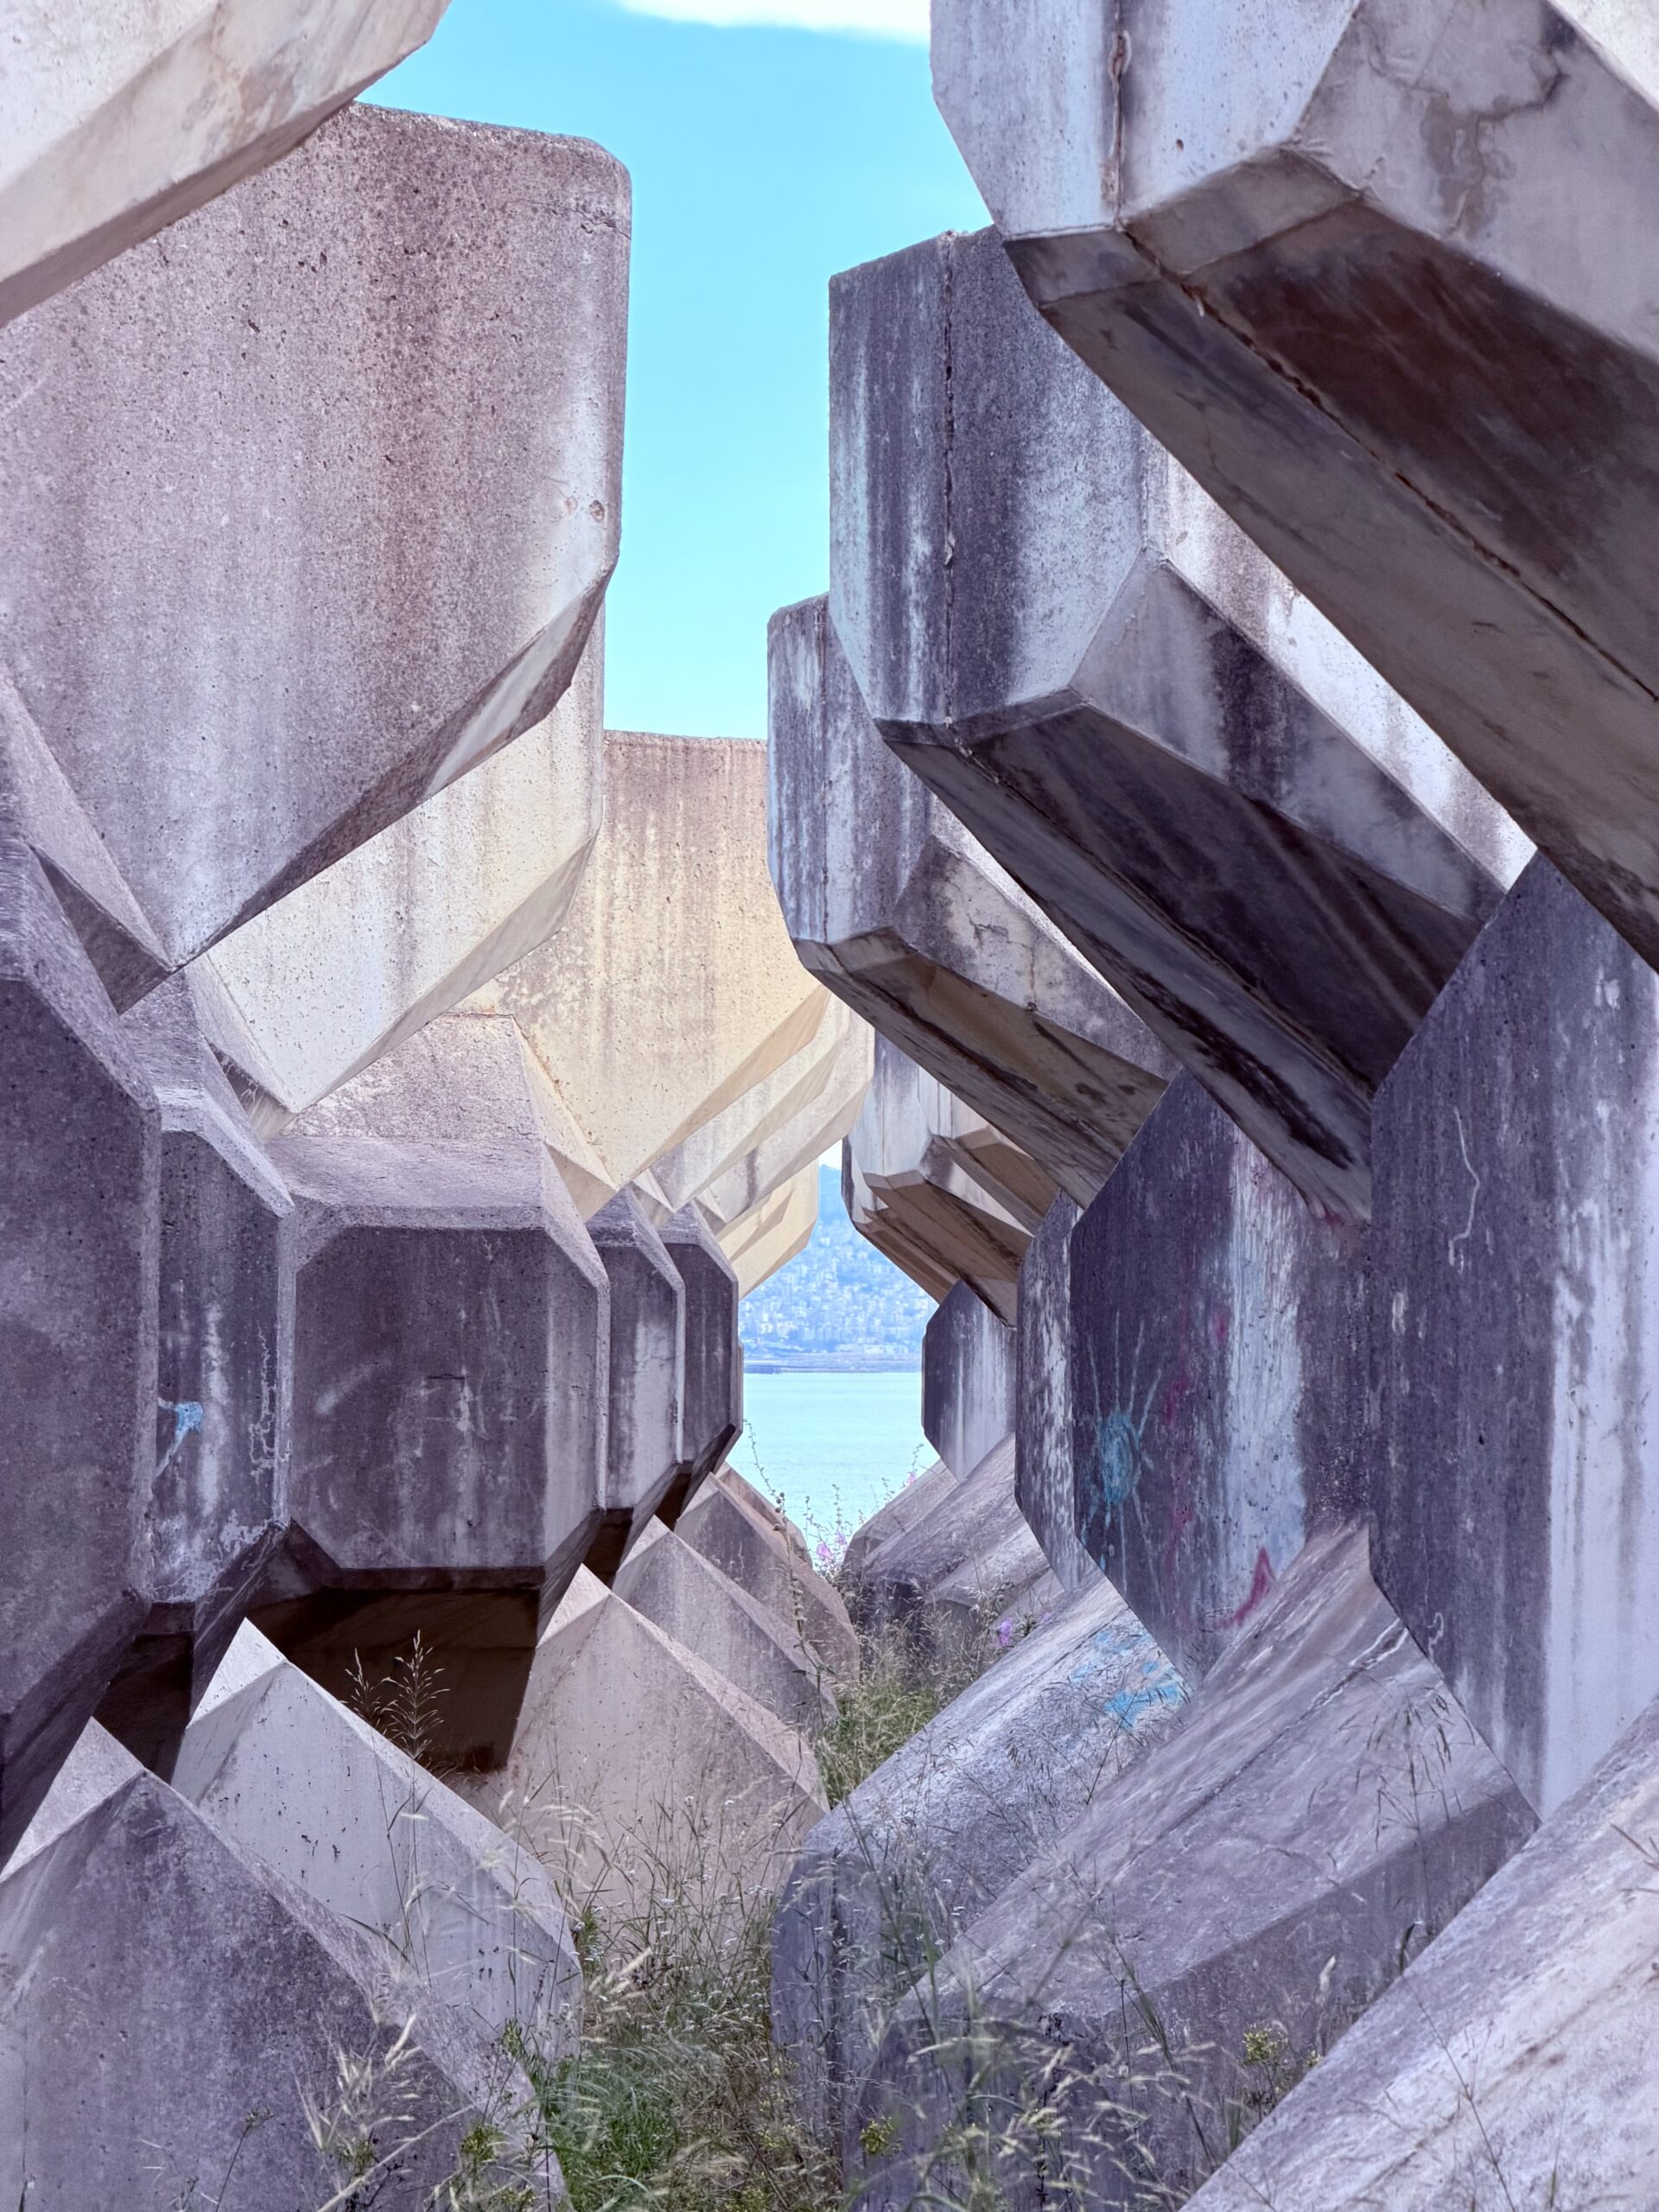
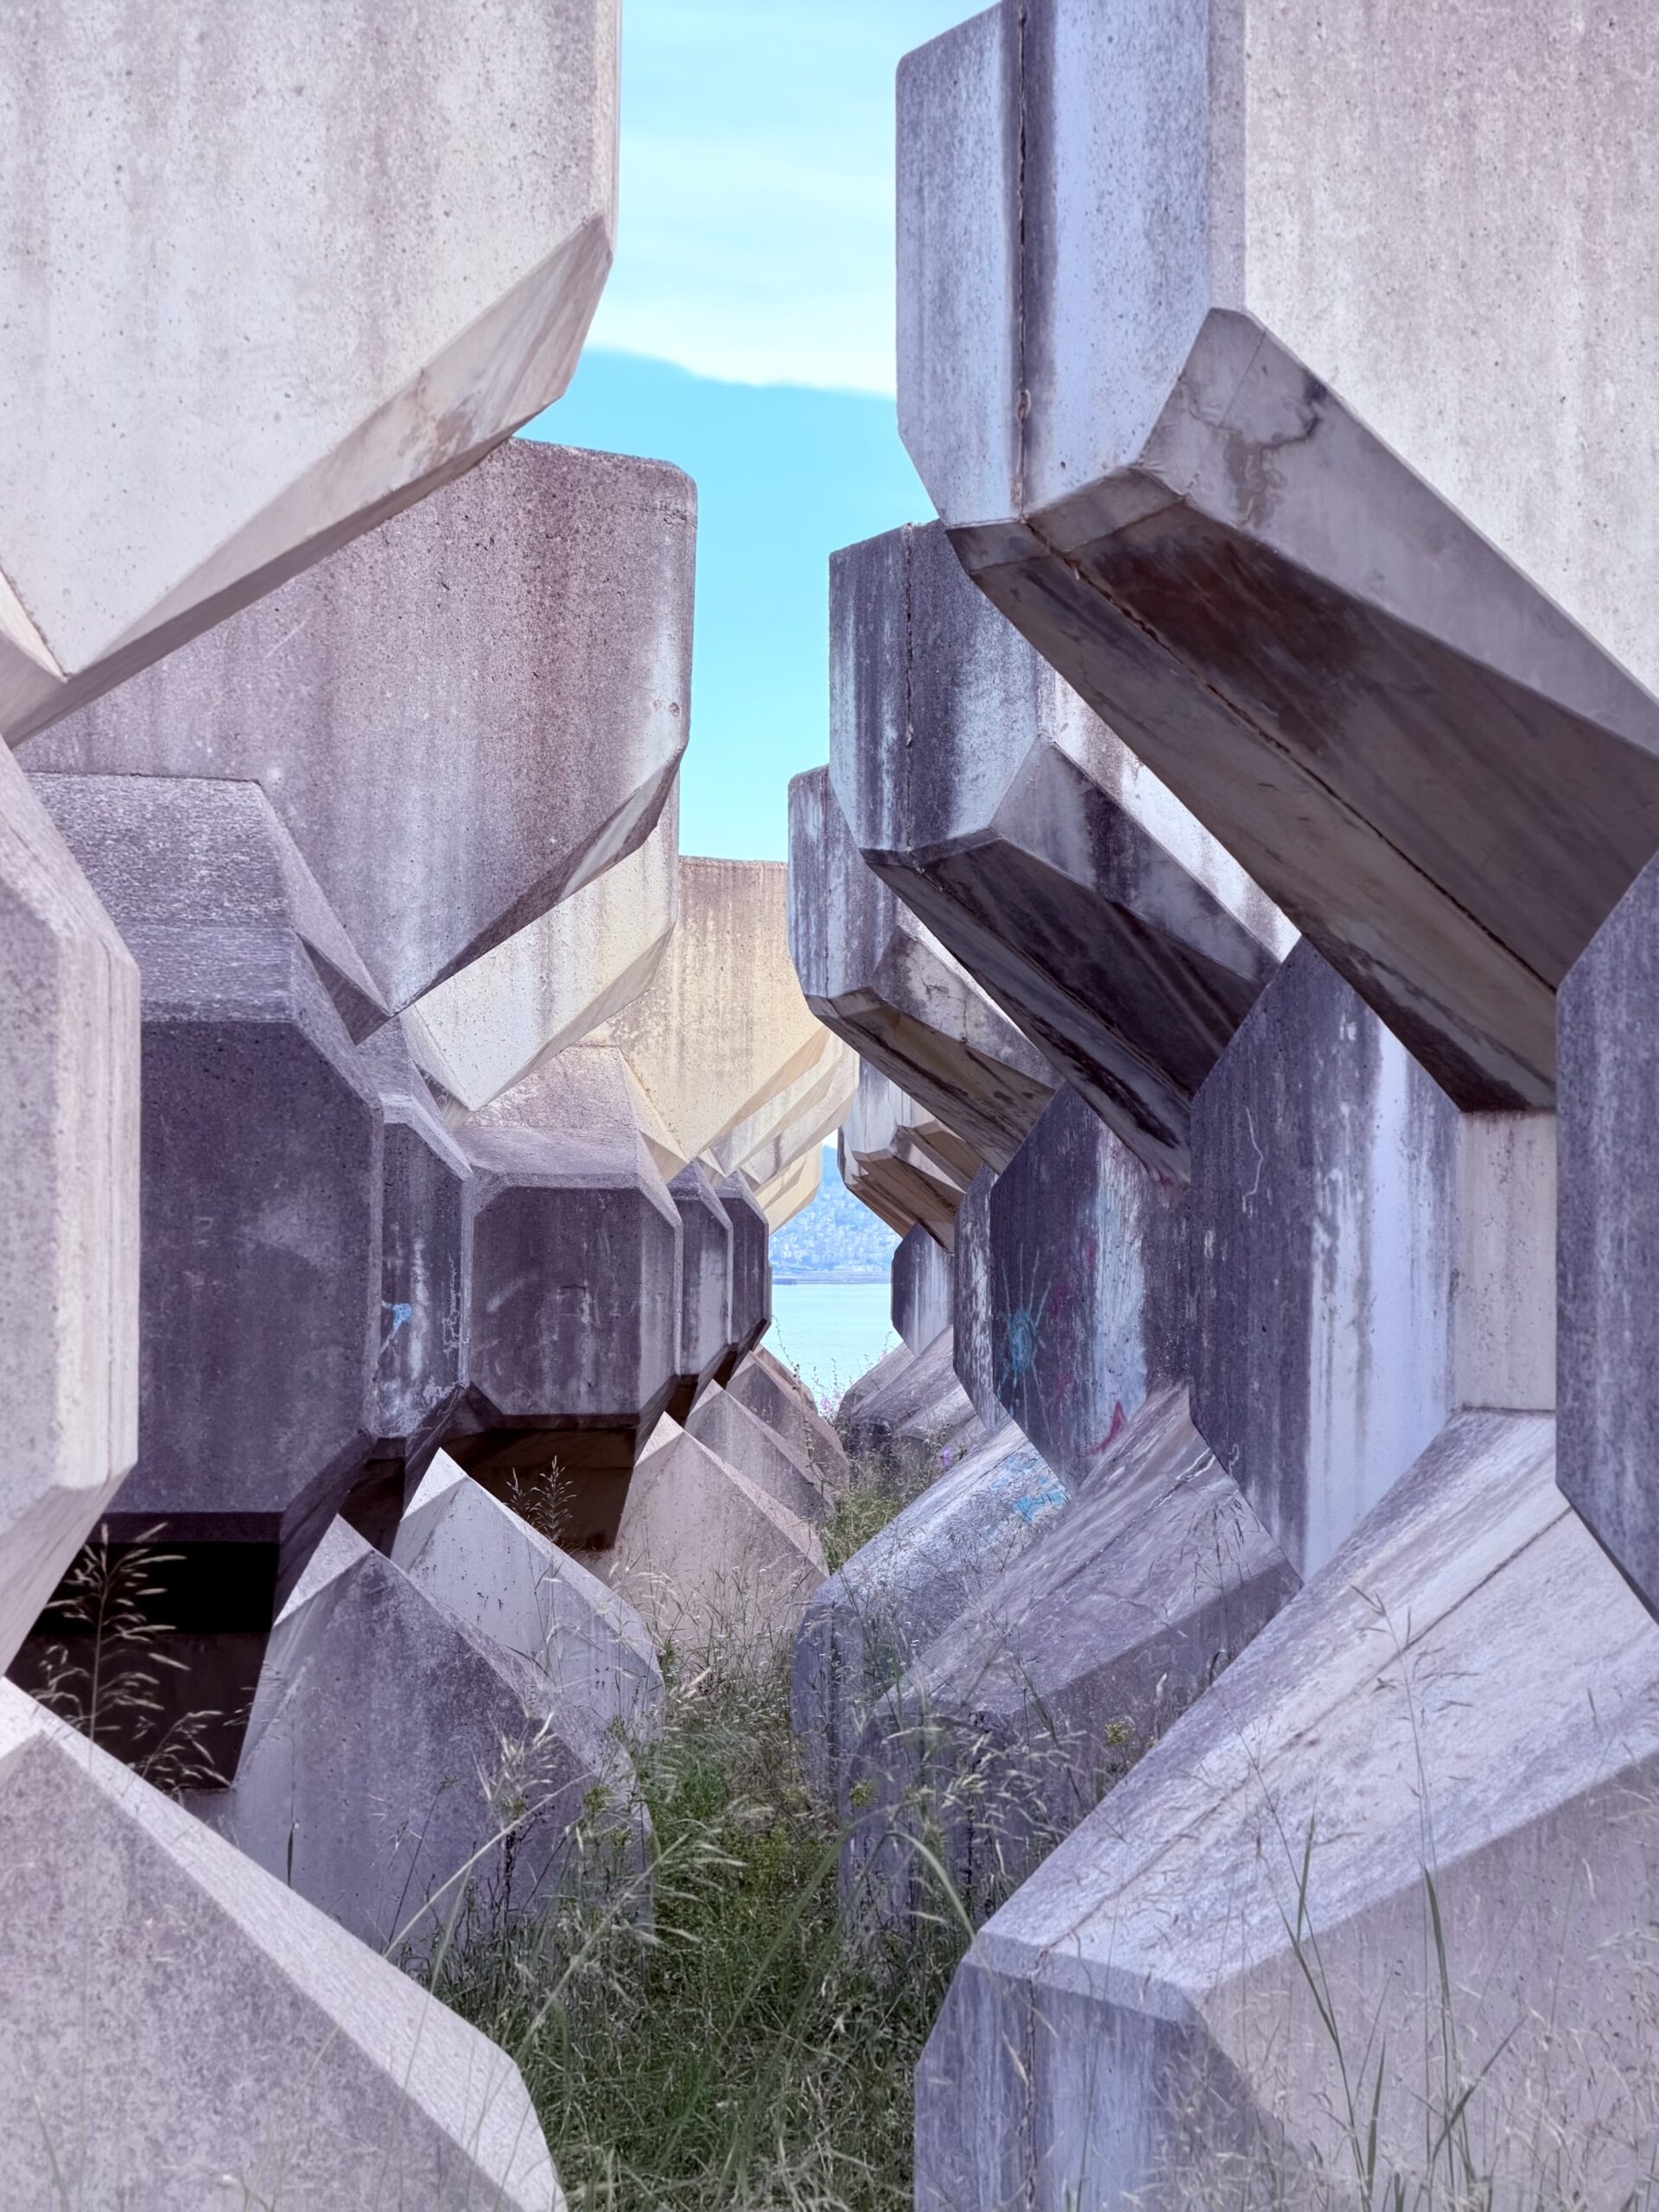
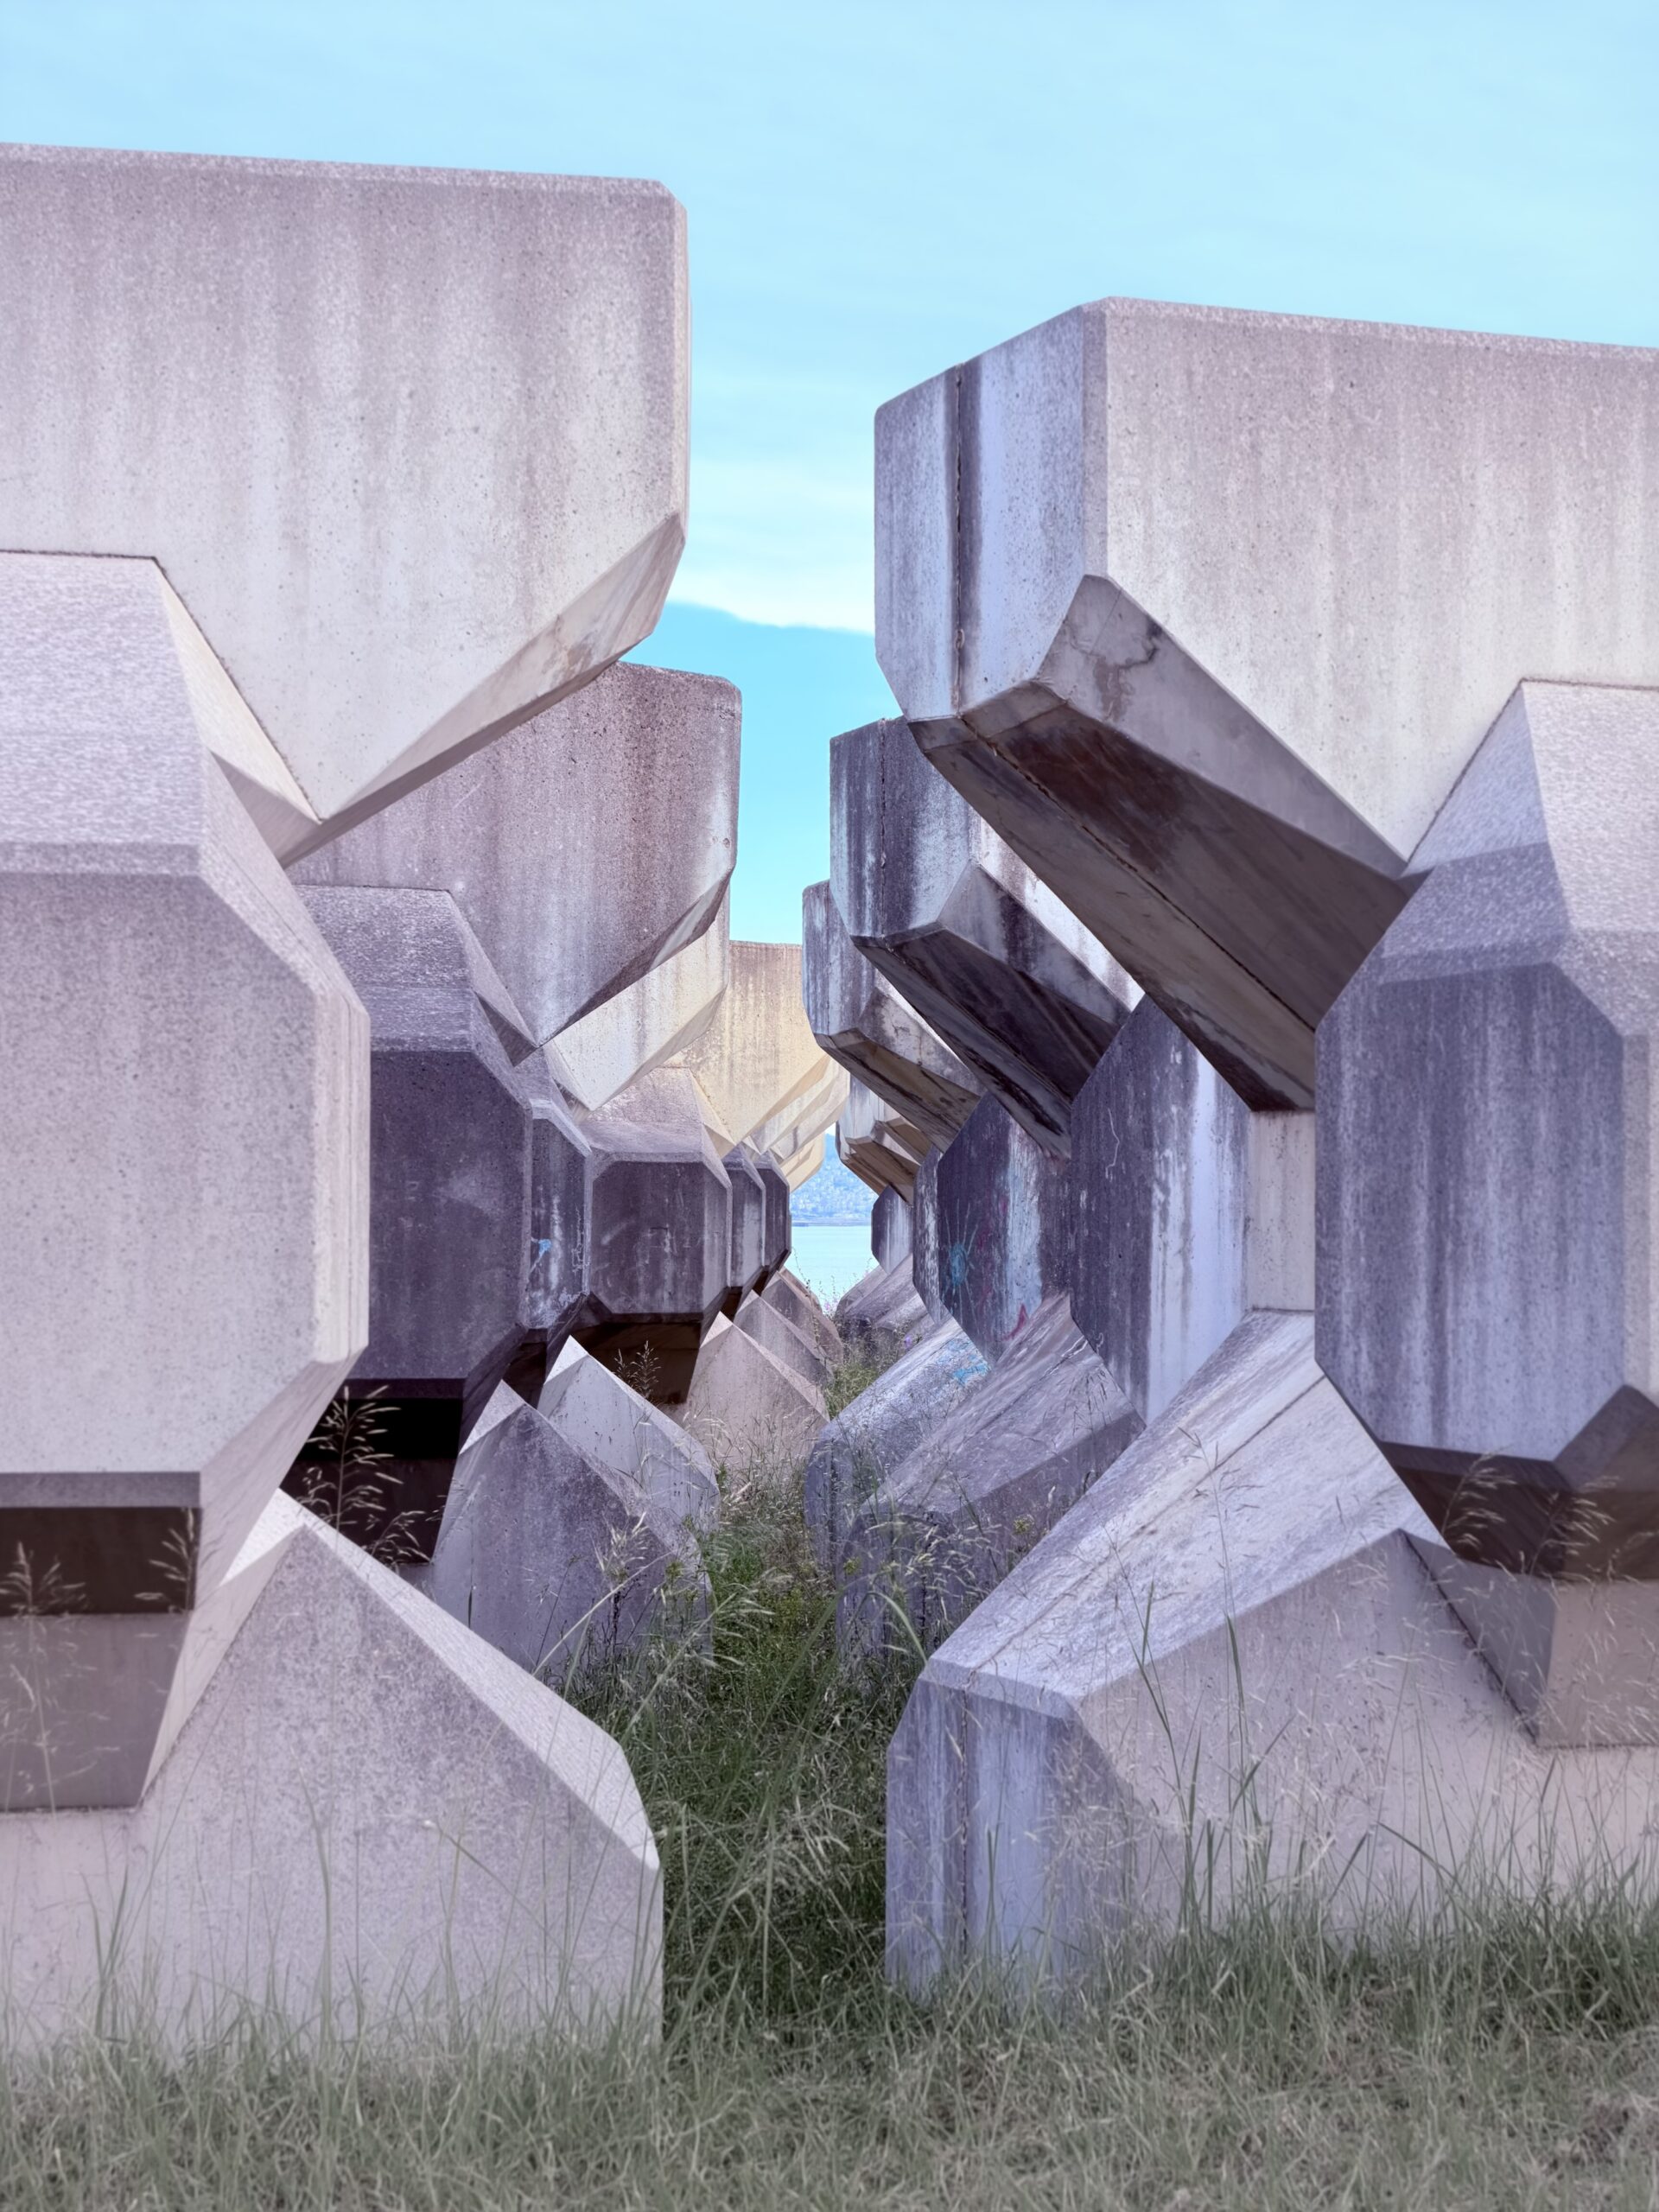
Original, unedited photo (first); first attempt to use Extend (second); another attempt at Extend (third).
The third test was a tricky, close-up shot of cement boulders. Both extensions correctly detected the objects’ patterns and generated realistic results.



Original, unedited photo (first); first attempt to use Extend (second); another attempt at Extend (third).
Next, I had Extend generate the bottom section of a cropped lighthouse. The AI precisely replicated the colors and pattern, including those of the clouds. The second extension correctly generated a lifelike sea, which I found impressive, but it also hallucinated a second extra-large lighthouse.



Original, unedited photo (first); first attempt to use Extend (second); another attempt at Extend (third).
For the fifth test, I attempted to extend the buildings on Jounieh’s hillside. In both edits, the AI model concealed the view by generating dull buildings on the left and right sides, and it inserted generic cars on its made-up road.

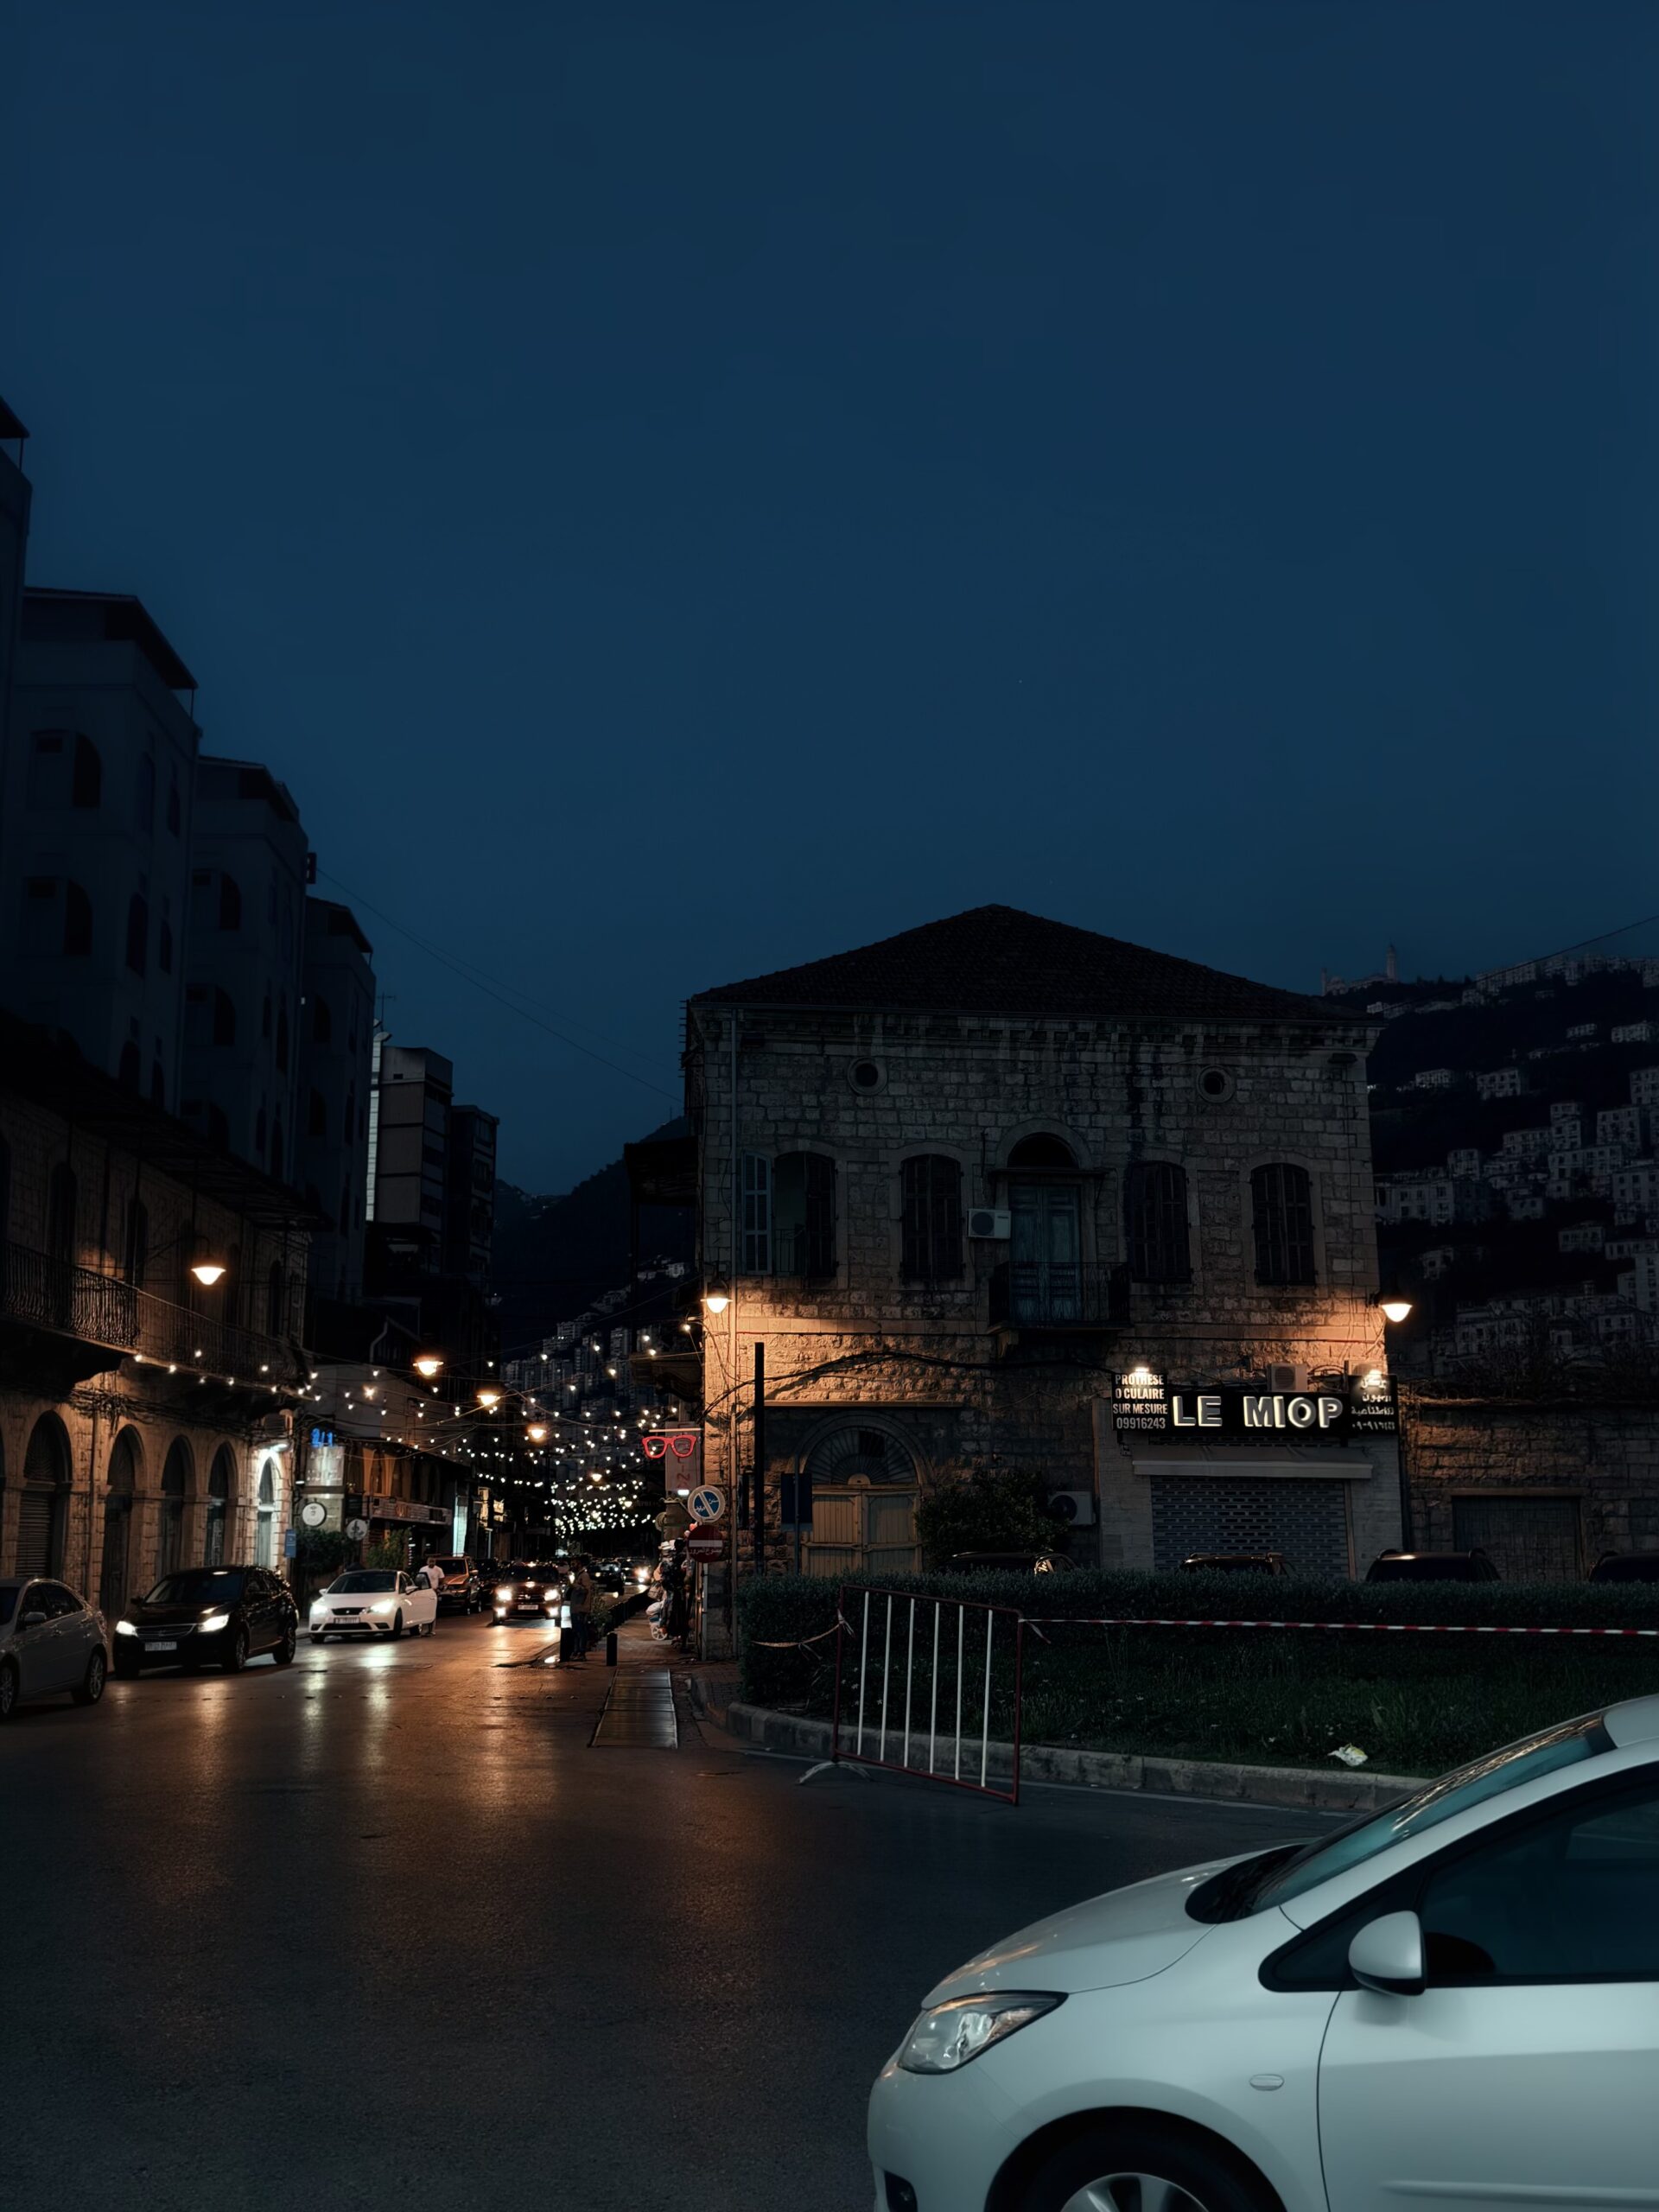
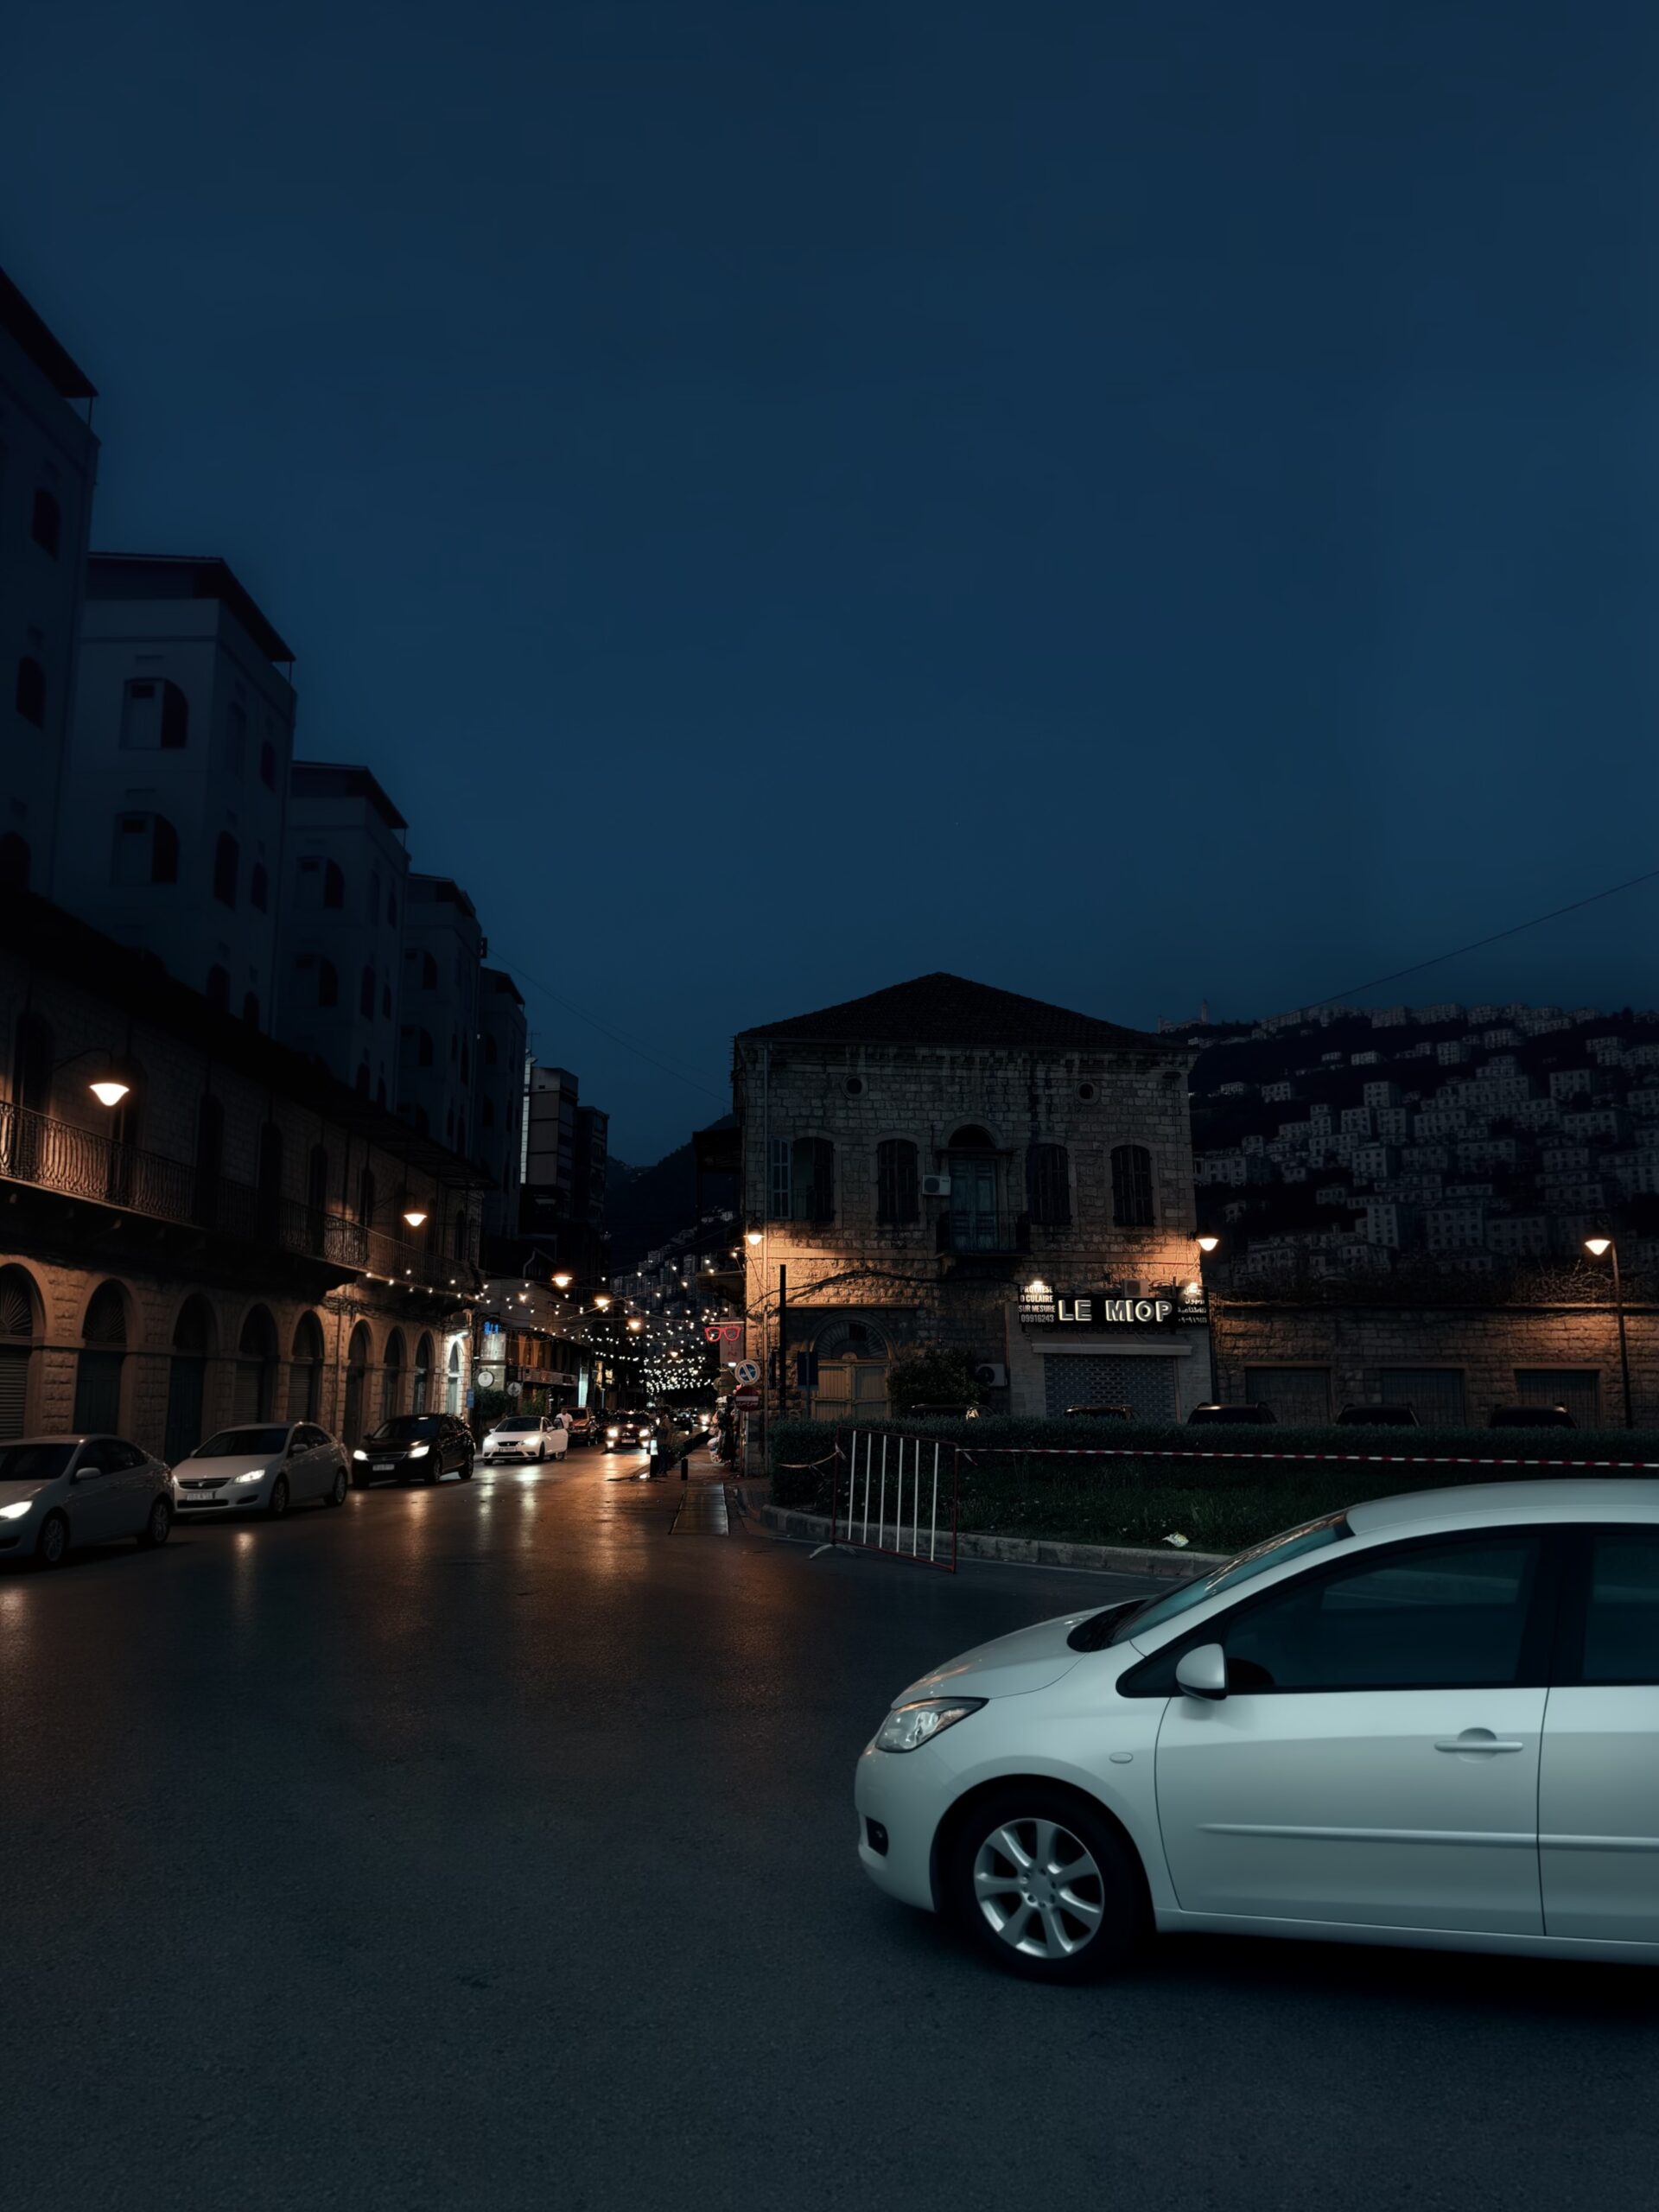
Original, unedited photo (first); first attempt to use Extend (second); another attempt at Extend (third).
Lastly, I extended a dark alley twice, and the feature maintained the original photo’s vibe by generating suitable cars and buildings.
Like most AI features, Extend’s results can be unpredictable. Sometimes It’ll fail to extend a well-lit shot yet somehow manage to get a complex setting right.