On iPhone 18 Pro models, you can use Apple Reference Image to save and share additional data to verify the authenticity of a photo. Use Reference mode to take a photo and also capture the original data from the sensor in the Main camera.
You only have to turn on Reference mode once, in the Settings app. After that, it’s a camera mode like any other, and iPhone captures the original, signed sensor data with each photo.
Note: Apple Reference Image is not available in all countries or regions.
Before you begin
It’s a one-time step: turn on Reference mode in the Settings app.
- Open the Settings app on your iPhone.
- Tap Camera, then tap Reference Image.
- Tap Add Reference Mode, then follow the onscreen instructions.
Take a photo with a reference image
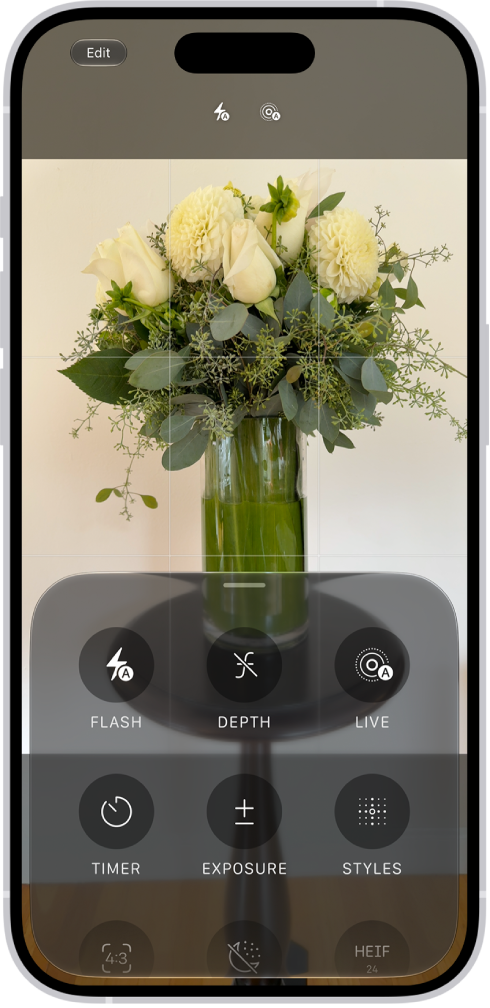
- Open Camera on your iPhone.
- Swipe to select Reference mode.
- Tap the Shutter button, or click the Camera Control (on supported models), to take the photo.
iPhone also captures the original, signed data from the Main camera’s sensor, so you can develop and view a reference image in Photos.