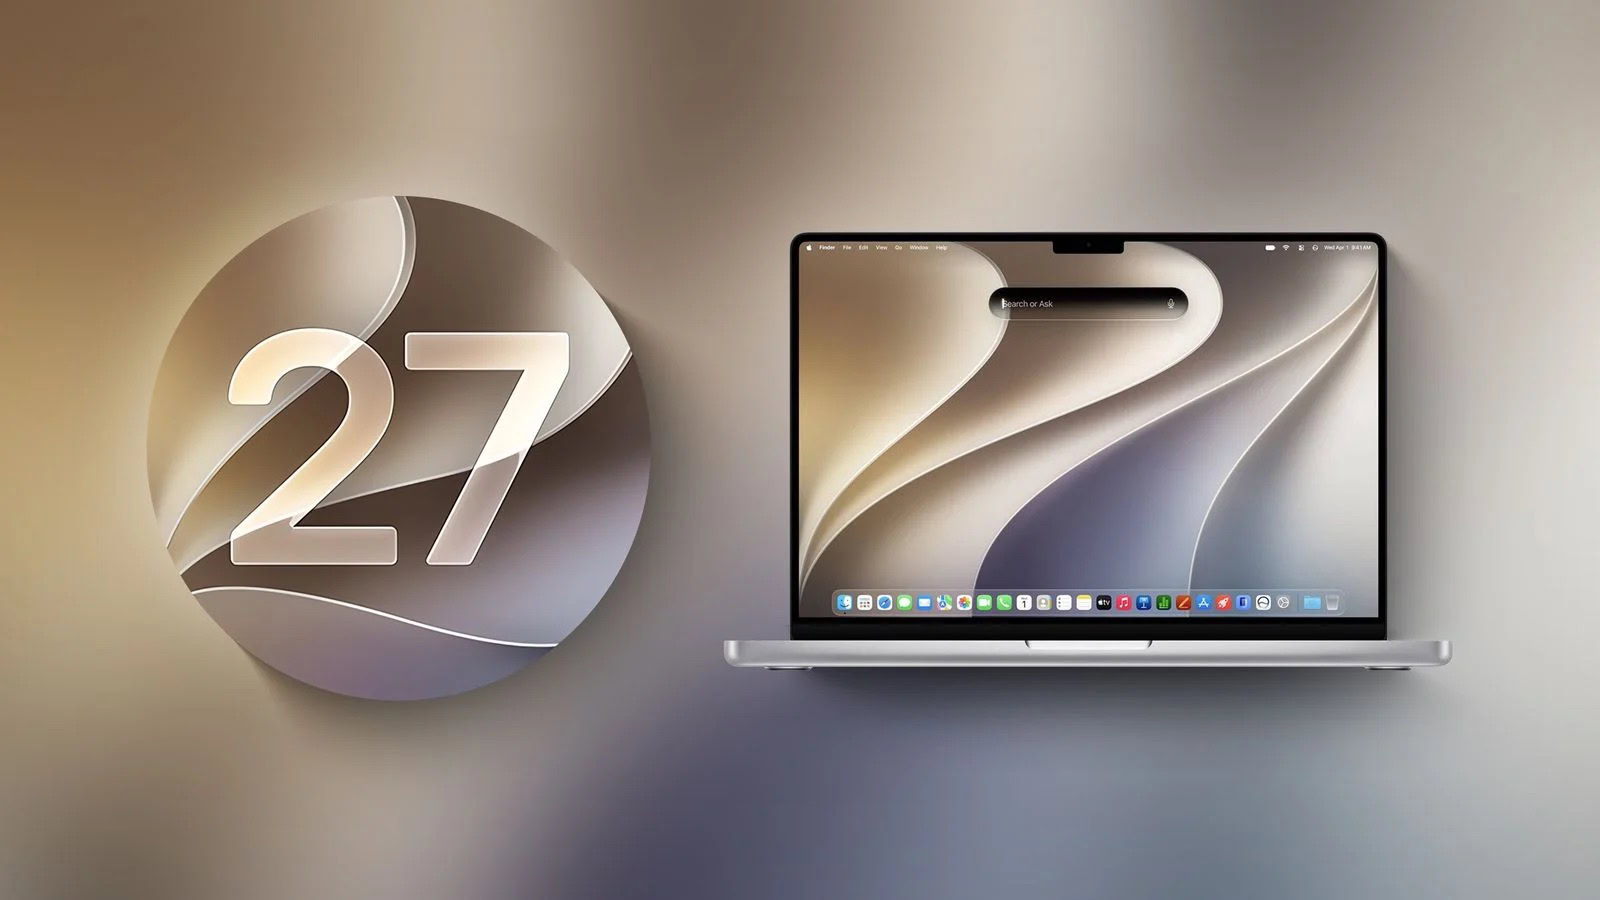
In all likelihood, your experience using macOS 27 Golden Gate will be just fine, and if you’re already using Sequoia, the odds are even more in your favor. However, if you find yourself with an intractable problem that the troubleshooting steps don’t help with and your only choice is to revert to your previous version of macOS, it is possible—though not convenient—as long as you have a full backup.
macOS has no downgrade mechanism as such. All you can do is erase your disk—yes, you really do have to erase the whole thing—and then either restore the whole thing from a bootable duplicate or reinstall your older version of macOS and then separately migrate or restore the data from a data-only duplicate or a Time Machine backup. To erase your disk, you have to start from another volume—the logical options here are a bootable installer for your old version of macOS (see how to make one) or a bootable duplicate. For this purpose, recovery mode won’t work, for the reasons set out at the end of this article.
If you have to downgrade to, say, Tahoe, and you don’t have a bootable duplicate or a bootable installer volume, you’re not necessarily out of luck. While running macOS 27, you can still download the Tahoe installer and use it to create a bootable Tahoe installer volume. The same goes for older versions of macOS.
The process
- Start up from another volume. To do this, attach the drive containing the other startup volume, go to System Settings > General > Startup Disk, select that volume, and restart your Mac.
- Run Disk Utility and erase the entire disk, both the system and Data volumes, containing macOS 27:
a. Choose View > Show All Devices.
b. Select the topmost icon for the external drive in the list on the left.
c. Click Erase.
d. Fill in a name for the new volume, and make sure Format is set to APFS and Scheme is set to GUID Partition Map.
e. Click Erase.
f. When the Done button appears, click it. You’ll then have a new volume with the name you entered in step d. - Reinstall your old version of macOS. If you already have the installer on your boot volume, you can simply run it; if not, you may have to download it from Apple first using Terminal.
- Using Migration Assistant at the end of the installation, restore your data from your backup—whether that’s a data-only duplicate or a Time Machine backup—following the Migration Assistant instructions.
Why recovery mode won’t let you downgrade
Even though you can do lots of things after starting in recovery mode—including reinstalling macOS—you probably can’t use recovery mode to downgrade to your old version because recovery mode doesn’t let you install arbitrary previous versions of macOS. Your only option is the most recent version of macOS that will run on your computer: probably not what you need.
In case you were thinking you can restore from a Time Machine backup in recovery mode and use that to get back to your older system…sorry, but no. Although Time Machine used to back up your full startup volume, ever since Big Sur, it backs up only your Data volume, not macOS itself. That’s why a Time Machine backup alone can’t restore an older version of macOS.