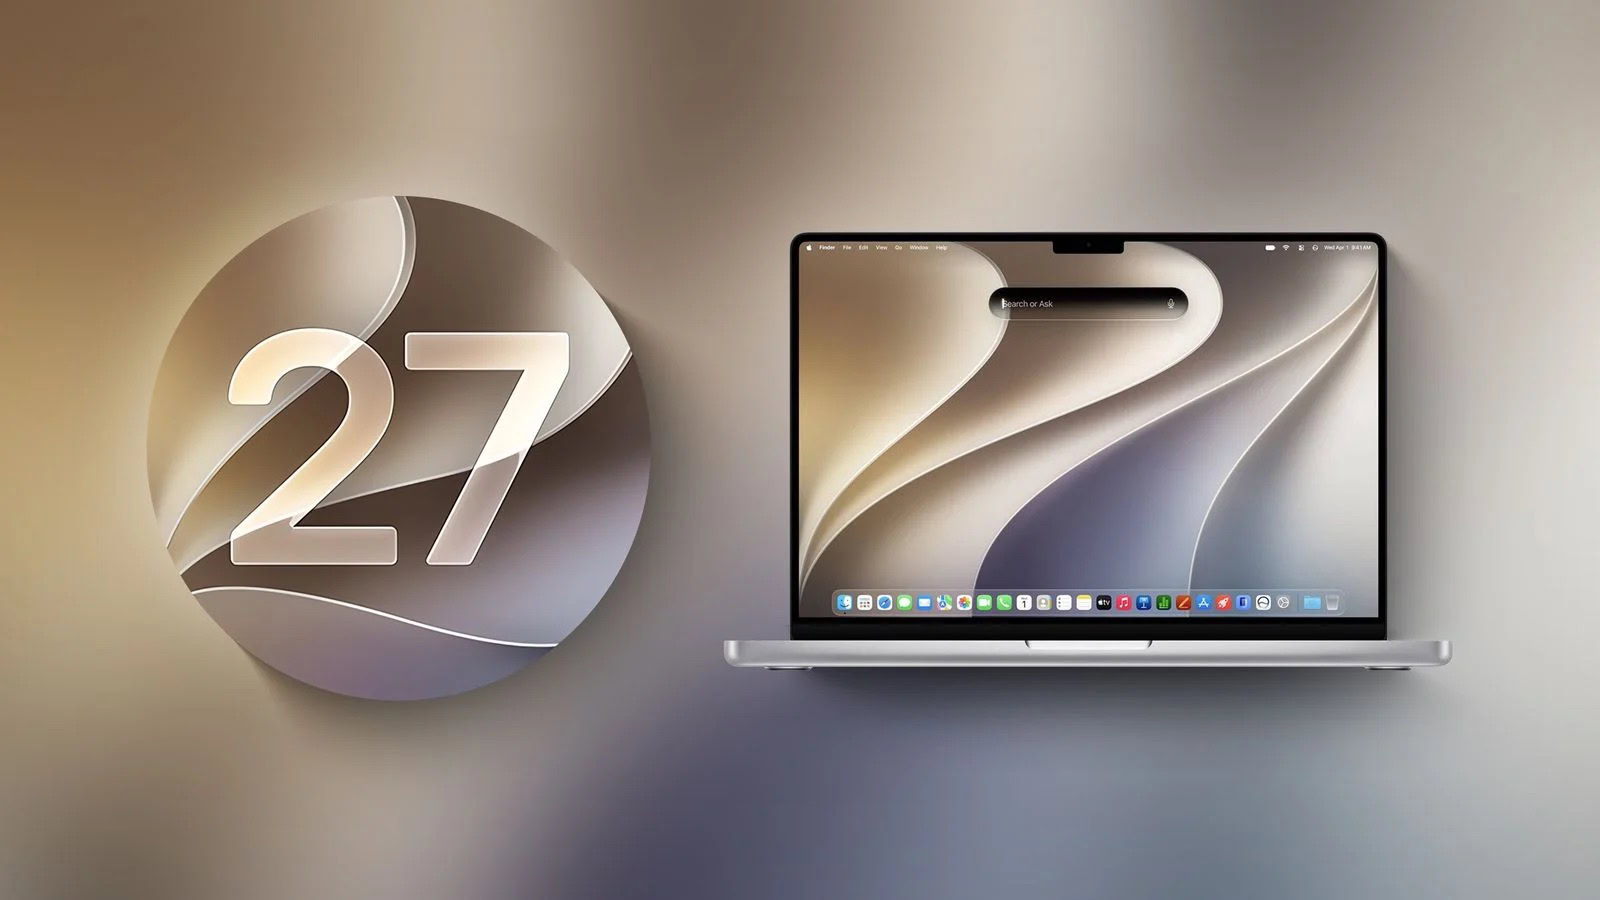
Every major upgrade to macOS results in software compatibility problems, where some apps work poorly or won’t launch. Most of us will have to update at least a few apps to make them work correctly under macOS 27 Golden Gate. If history is any indication, some incompatible apps won’t have an update available right away, and a few might never have one. But many developers work hard to ensure that their software is ready for each new version of macOS, and “macOS 27-compatible” software updates have already been appearing for months.
RoaringApps maintains a wiki that lists thousands of Mac, iPhone, and iPad apps and the current status of their compatibility with various operating system versions (including macOS 27), as reported by users. Although this list is neither exhaustive nor definitive, it provides a quick way to check on the apps most important to you.
Update your remaining apps
The macOS 27 installer looks for, and disables, certain types of incompatible software—but there’s no guarantee it will find everything. Given the choice, you’re usually better off upgrading third-party software before you install a new version of your operating system. (You may occasionally run into an app with a newer version designed to run only on macOS 27; in such limited cases, you may have to install the updated software after upgrading to macOS 27.)
Apple built an update mechanism into the App Store, so any apps you downloaded from the App Store can also be updated there—and App Store updates are free. To check for and apply App Store updates:
- Open the App Store app by choosing Apple menu > App Store.
- Click Updates in the sidebar to display a list of available updates.
- To update a single app, click the Update button next to it. Or, to update all the listed apps at once, click Update All.
- If prompted to do so, enter your Apple Account username and password, and click Sign In.
The App Store downloads and installs the updates automatically.
Software that doesn’t come from the App Store requires a separate update mechanism. Happily, most modern apps contain some sort of update feature. In each non–App Store app that you use frequently, look for a Check for Updates command (the wording may vary). Such commands usually appear in the application menu, the Help menu, or the Settings window.
Remember to check for updates of setting panes, status menus, browser extensions, and other system enhancements too.
Back up your disk
I consider a solid backup plan to be essential for every Mac user. I hope you already perform backups regularly, and if you don’t, this is a perfect time to start before you upgrade to macOS 27. Here are some of the ways you can achieve that:
- Create a data-only duplicate: macOS splits your startup volume in two: one volume holds macOS itself; the other, with “- Data” appended to the name, holds everything else. (Most users will never notice this split, because Apple does some magic behind the scenes to make it appear, in most places, that you have just one volume, called Macintosh HD by default.) Because only that data volume contains your personal files, settings, and apps that weren’t included with macOS, that’s all you really need to back up. Backup apps such as Carbon Copy Cloner and SuperDuper! can clone just the data volume if you like. (You’ll have to jump through a few hoops to restore that data if you eventually decide to downgrade; see how to downgrade macOS for details.)
Consult the documentation for whichever app you choose for complete instructions, but the basic idea is: first, erase the external SSD using Disk Utility; then, open the backup app, select your Data volume as the source and the external drive as the destination, and click the button to start the duplication process.
Although an SSD is all but mandatory as a startup volume in macOS these days, it’s fine to use a hard drive for a data-only duplicate (or a Time Machine backup, for that matter), since you won’t be booting from it.
- Create a full Time Machine backup: To hear Apple tell the story, Time Machine is the only backup solution anyone needs. Attach an external hard drive or SSD, flip a switch in System Settings, and you’re done: automatic backups every hour with no further thought or fuss. Time Machine is pretty good but far from perfect. The most important drawback for our current purposes is not a flaw in Time Machine as such, but rather the fact that, for any of numerous good reasons, you may opt to exclude some items from Time Machine (by going to System Settings > General > Time Machine > Options and adding files or folders to the Exclude from Backups list). If you do that, those files can’t be restored if and when you have to revert to an older version of macOS. So, fair warning: you can use Time Machine if you like, but first remove everything from that list and make sure Time Machine completes at least one run.
- Clone if you want to: If you have the necessary hardware, software, and patience, you can create a full bootable duplicate, even on a modern Apple silicon Mac. But since this is so much more complicated and less necessary than in years past, I wouldn’t bother.
One type of backup that will not suffice for this particular purpose is an online backup using a service such as Backblaze. I like Backblaze and use it myself, but because it excludes many types of files and is unavailable to the macOS installer or Migration Assistant as a data source, it can’t be used to restore an entire Data volume after a failed upgrade.
With a backup in hand, the next decision is whether to upgrade in place or start clean.