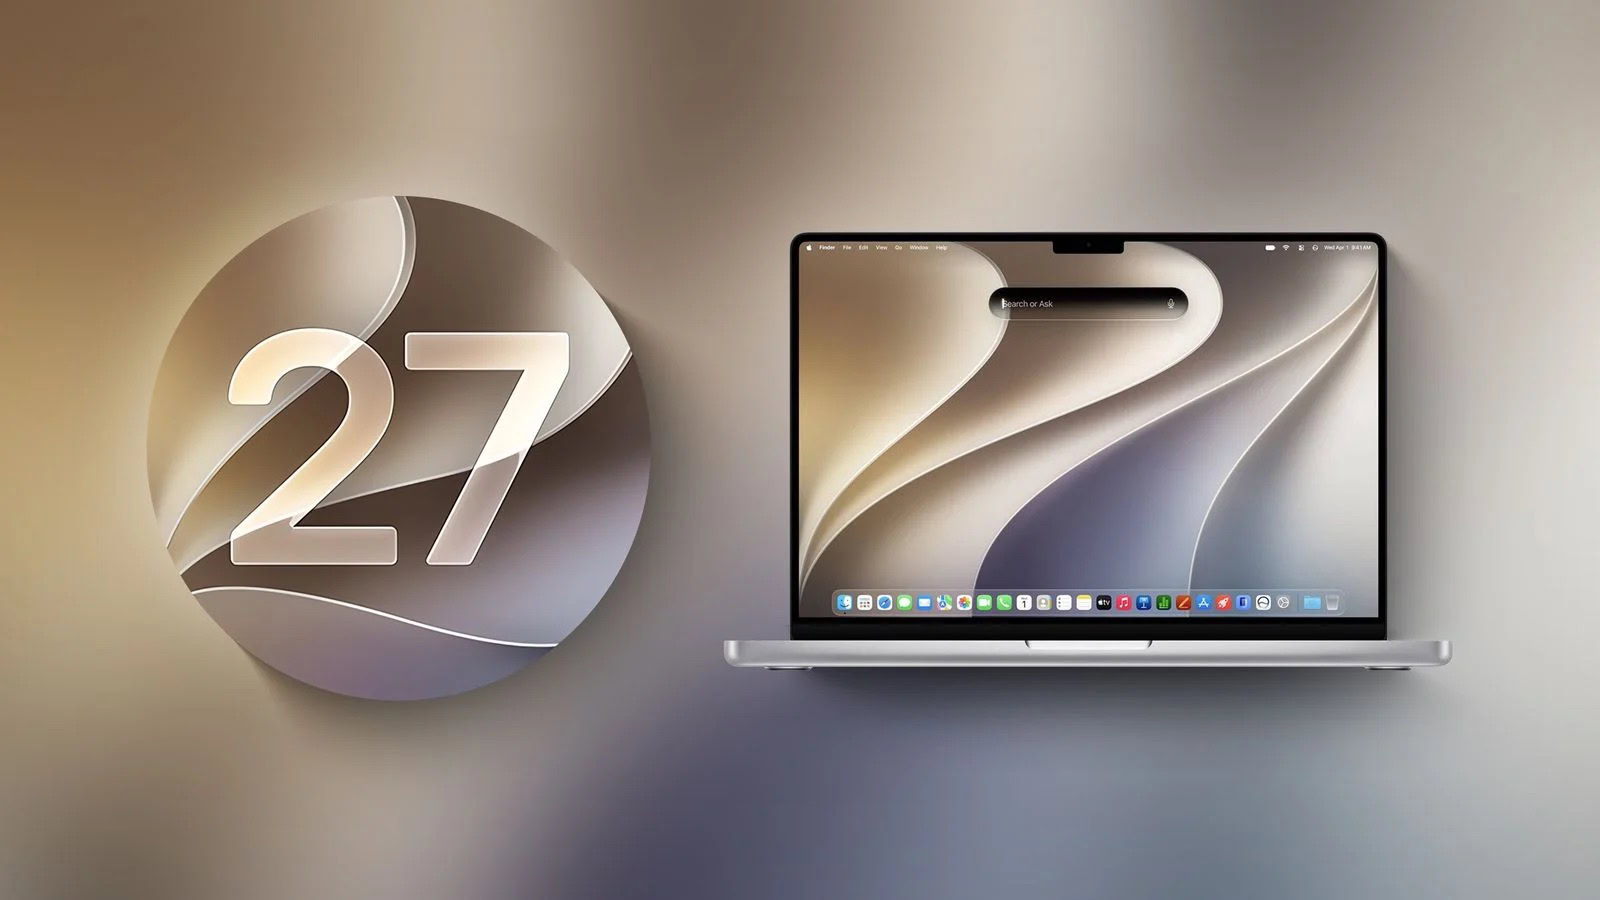
Since Apple first made major macOS upgrades available in downloadable form rather than offering DVDs (remember those?), downloading an installer meant just that: you got a separate installer app on your disk that you could open by double-clicking it. In contrast, minor updates were available through Software Update, requiring only a couple of clicks to install.
For the past several years, however, Apple has offered even major upgrades—like going from macOS 26 Tahoe to macOS 27 Golden Gate—via Software Update (that is, System Preferences > Software Update in Monterey or earlier, or System Settings > General > Software Update in Ventura or later). Besides requiring fewer steps, the downloads available through Software Update tend to be smaller and thus quicker to download than full installers.
If your Mac supports macOS 27 Golden Gate and it hasn’t yet been installed, a little badge appears on the System Settings icon and you may be tempted to simply click Upgrade Now and step through the update process there. The badge names whatever the current version of macOS 27 is, rather than 27.0.0).
Although you can use this approach, I recommend against it, for the following reasons:
- The downloads may be smaller, but you don’t get a standalone installer. That means you can’t copy it to another Mac or make a backup of the installer in case you need to use it again (see how to keep a copy).
- As a consequence of not having a full installer app, you can’t make a bootable installer (see making a bootable installer).
- The installer you get via Software Update does not prompt you to choose a destination (see selecting a destination); it can be used only for updating the copy of macOS on your current startup volume. That also means this approach can’t be used with Plan B. So, if you try using Software Update with Plan A and you have a problem, you’ll have to download the full installer anyway to switch to Plan B.
If you do choose to go the Software Update route, most of the installation process will be the same, and you’ll follow the same steps afterward.
Make final preparations
Now that you know which basic installation technique you’re going to use, you’re nearly ready to proceed. Your next major step (which could take hours, or even longer) is to obtain the macOS 27 installer; then I’ll recommend a few other quick, last-minute tasks before you dive in.
Obtain the installer
Depending on your situation, obtaining the macOS 27 installer may be a trivial matter of a few clicks, or it may be an involved ordeal.
If you are comfortable with the trade-offs above, you don’t have to perform a separate download at all; simply go to System Settings > General > Software Update, or System Preferences > Software Update in Monterey or earlier, and click Upgrade Now. Then click Continue, agree to the software license if prompted to do so, and skip ahead to the installation itself.
If you don’t pursue this path, you must go through a few non-obvious steps to download the macOS 27 installer, which, like Tahoe, is not available from the Mac App Store.
The easiest way to proceed is to obtain a direct download link that points directly to Apple’s servers. I can’t overemphasize how important it is to download directly from Apple. Apple doesn’t publicize such links, but the site Mr. Macintosh has very helpfully collected them for us. The site Mr. Macintosh collects them; every link there points to swcdn.apple.com, a legitimate Apple download server.
On that page, look for the most recent entry in the PUBLIC Full Installer table. Click the link to download InstallAssistant.pkg.
You might be thinking, “Don’t I want an app called Install macOS Golden Gate? What’s InstallAssistant?” In fact, InstallAssistant.pkg is a simple installer that merely puts the Install macOS Golden Gate app in your Applications folder. So, once that file has finished downloading, double-click it and follow the prompts to run the installer, which is really the installer installer. When it’s done, you’ll see Install macOS Golden Gate in your /Applications folder (unless you selected a different location for it). You can then delete the InstallAssistant.pkg file.
An alternative is a command-line program in Terminal. Enter softwareupdate --fetch-full-installer --full-installer-version 27.0 to download the full version.
Once you have it, keep a copy somewhere safe before you run it.