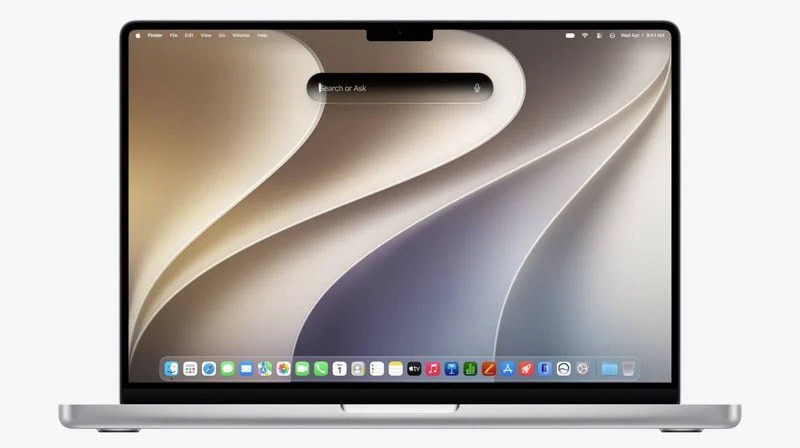
Now that you’ve gone through all the preliminary steps, it’s time to begin the upgrade to macOS 27 Golden Gate. For most people, Plan A—essentially letting the installer do what it wants—is the logical choice. And remember, if it doesn’t work out for any reason, you can always move on later to Plan B, a clean install. Nevertheless, because you may encounter some questions or confusion during the process, I detail exactly what steps to take from start to finish.
Start the installer
Before you run the installer, if you haven’t already done so:
- If you are installing onto a laptop, connect its AC adapter to a power source. (If you forget to do this, the installer will prompt you.)
- Quit all open apps. (The installer attempts to do this for you—and prompts you if it can’t—but you might as well take care of this beforehand.)
To begin the process, double-click the Install macOS Golden Gate icon in your /Applications folder or wherever else you put it. A window appears with just one button: Continue. Click it!
As a reminder, if you chose to use Software Update, there’s no separate installer to run or destination to select.
The Software License Agreement appears next; click Agree, and then click Agree again in the confirmation dialog to proceed.
Select a destination
The next screen—assuming you are using the standalone installer and not Software Update—asks you to confirm which volume you want to install macOS 27 onto. In most cases, it displays its best guess—typically your startup volume—but you may see multiple disks here, in which case you should select the one you want. If the volume where you want to install macOS 27 isn’t visible, you should see a Show All Disks button; click that to display all available options and then make your selection.
If the installer can’t use a volume as the destination for any reason, that volume is dimmed; click it for an explanation. If the volume is empty or contains a recent version of macOS, it should be OK; if not, the instructions may tell you to back it up and erase it. (In some cases you may be prompted to reformat it.)
If you see an “Unsupported partition structure” error message, see what to do when the volume can’t be selected.
With your desired destination volume selected, click Continue or Install (the wording varies depending on your setup). Next, you’re prompted to enter your administrator credentials (in order to add a helper app); do so and click OK (or, in some cases, Unlock).
The installer begins copying files. The copy process typically takes several minutes, but when it finishes, the installer tells you that it will restart your computer automatically in 30 seconds; you can also click Restart to skip the wait. If any apps are still open and the installer is unable to close them automatically (for example, if there are unsaved changes you must respond to), the installer displays a prompt asking you to click Close Other Applications.
Take a meditation break
Depending on a number of variables, including the speed of your Mac and the size of your disk, installation may take less than a half hour or as long as several hours. Apart from the steps you’ve already performed, the process normally requires no intervention until the very end. Until then, you won’t be able to use your Mac for anything else, so now’s a good time to take a break to do some meditation, tai chi, qigong, or yoga—you have a bit of time to kill.
If you insist on watching the installer’s progress bar gradually make its way across the screen, beware: its time estimates (“About 43 minutes,” “Less than a minute,” etc.) are notoriously inaccurate, especially near the beginning and end of the process. And remember: a watched installer never boils.
As the installer progresses, your Mac will restart one or more times, and it may make some unusual sounds (like a long beep). You may also hear your Mac’s startup chime—perhaps even more than once. At the end of the installation, you’ll continue with several additional configuration steps.
When it finishes, Setup Assistant takes over.