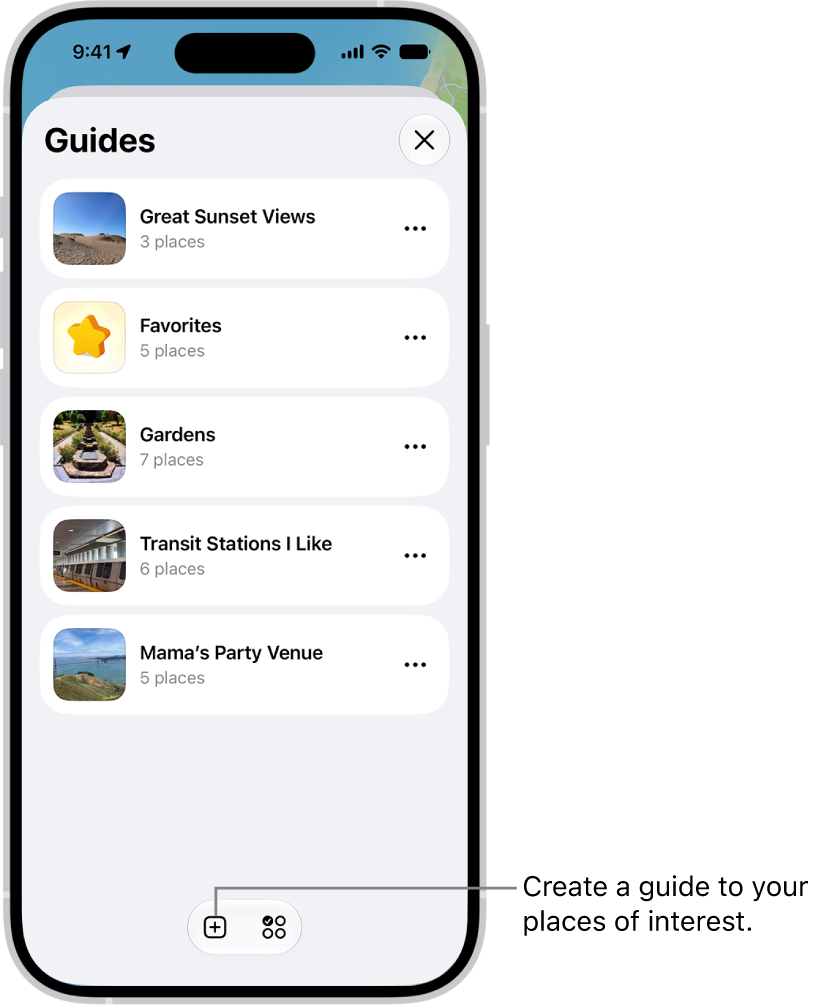
On iPad, you can organize places into your own guides for easy reference, and you can share your guides with others.
A guide called Favorites always appears in your guides, which makes it easier to save places. You can add a place to a guide, edit a guide, and add Publisher Guides to your collection, too. You can also pin any places you want to see in your Places.
Here’s how to organize places with custom guides in Maps on iPad.
See your favorites
To make it easier for you to save places to a guide, a guide called Favorites always appears in your guides.
- Go to the Maps app on your iPad.
- Below Your Guides, tap Favorites.
Quick tip: Pin any places you want to see in your Places each time you open Maps. See our guide, Add a pin to your Places.
Create a guide
- Open the Maps app on your iPad.
- Tap Your Guides. Tap the Add to List button.
- Enter a name for the guide. Tap the Add Image button to add an image from your photo library.
- Tap the Done button.
Add a place to a guide
- Open the Maps app on your iPad.
- Tap a place on the map or a search result.
- In a place card, tap the More button and then tap Add to Guides.
- Choose one of your guides and tap the Done button.
To add Publisher Guides to your guides as well, see our article, Explore places with guides.
Share a guide
- Open the Maps app on your iPad.
- Tap Your Guides. Tap the guide you want to share.
- Tap the Share button at the top of the guide card and choose an option.
Edit a guide that you created
- Open the Maps app on your iPad.
- Tap Your Guides, then tap the guide you want to edit.
- Tap the Edit button. Then rename it or do any of the following:
- Choose a cover image: Tap the Change Image button, tap another image, and tap Choose.
- Remove places: Tap to select the places you want to delete from the guide and then tap the Delete button.
- Tap the Done button.
Remove a guide
- Open the Maps app on your iPad.
- Below Your Guides, tap the More button on the guide you want to remove. Then tap Delete.
See also