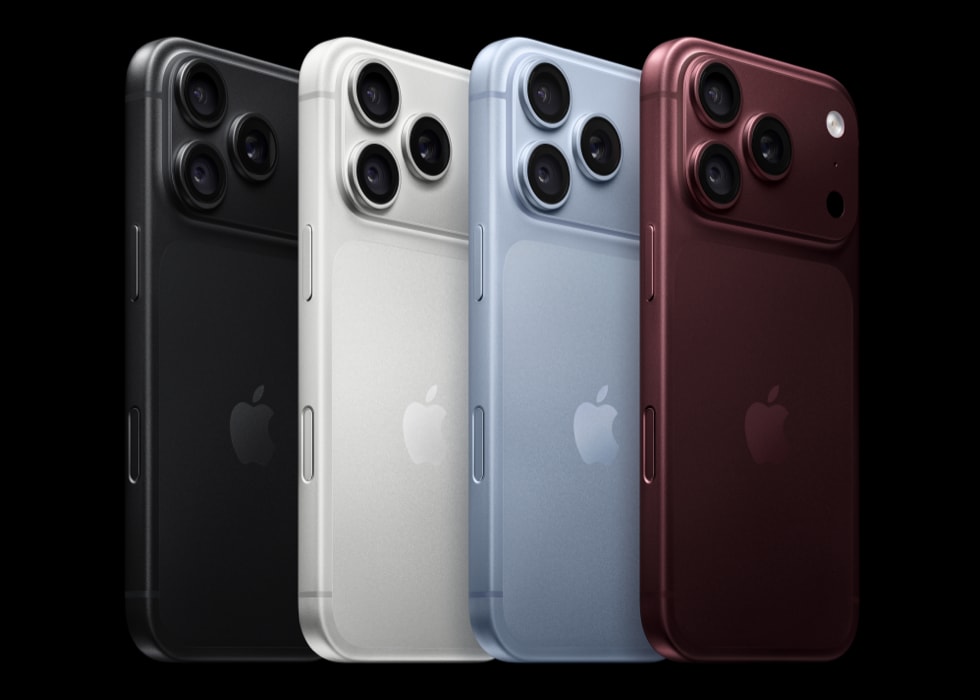
Sometimes, you may see an error message on your iPhone 18 Pro saying, “This update requires a Wi-Fi network connection to download”. This error message appears on an iPhone’s Software Update screen, which can be accessed by going to Settings > General > Software Update. This error makes it impossible for your iPhone 18 Pro or iPhone 18 Pro Max to be updated to the latest version of iOS because the button to download the update is grayed out. In this article, I will explain what you can do.
Apple periodically releases updates and upgrades to its software. They may include new features and security patches to address vulnerabilities and enhance the overall security of their devices. Apple also delivers Background Security Improvements, which deliver additional security protections between software updates. To receive them, go to Settings > Privacy & Security > Background Security Improvements and make sure that Automatically Install is turned on.
It seems that a lot of iPhone 18 Pro and iPhone 18 Pro Max users are complaining about this “Wi-Fi network connection” issue. If you are one of them, please try the following steps. After trying each step, check to see if you can update. If you cannot, move to the next step.
1. Enable iOS updates over cellular
By default, iOS updates may not occur over cellular because these updates may be big and use a lot of data. This can be bad for many because cellular data can be pretty expensive. Apple lists iOS updates over cellular among the higher data-usage features that Allow More Data on 5G enables. Note that this setting uses more cellular data.
- Open the Settings app.
- Tap Cellular and then tap Cellular Data Options.
- Tap Data Mode.
- Select Allow More Data on 5G.
2. Restart your iPhone 18 Pro
Simply restart your device and try again. Restarting may fix this issue because it gives your device a fresh start.
- Press and hold either volume button and the side button until the power-off slider appears.
- Drag the slider, then wait 30 seconds for your device to turn off.
- To turn your device back on, press and hold the side button (on the right side of your iPhone) until you see the Apple logo.
3. Restart your Wi-Fi modem/router
Your Wi-Fi may not be strong enough. Restart your Wi-Fi modem. This is easy:
- Restart your router and cable modem by unplugging the devices and then plugging them back in.
4. Turn off VPN or other security apps
If you have a VPN application, profiles in place or a security application, these might disrupt your Wi-Fi connection, hindering your device from establishing a proper connection. Sometimes, these may interfere with connecting to the iOS update servers. VPN or proxy connections might prevent your device from contacting the update servers. If applicable, consider temporarily disabling or uninstalling the security application or VPN or both if you have both. After disabling these, try again to update your iPhone 18 Pro.
5. Reset network settings
If your issue continues, reset network settings. Resetting your network settings causes all network settings to be removed, including your home, work, and school network configurations. But this will not erase your personal data or apps.
- Open the Settings app.
- Tap General.
- Tap Transfer or Reset iPhone.
- Tap Reset.
- Tap Reset Network Settings. This resets all Wi-Fi networks and passwords, cellular settings, and VPN and APN settings.
6. Use your computer
If you still see “This update requires a Wi-Fi network connection to download” on your iPhone 18 Pro, you may need to use your computer.
- Back up your device using iCloud or your computer.
- Check which app your computer uses. On a Mac running macOS Catalina or later, that is the Finder. On a Mac with macOS Mojave or earlier, Apple directs you to iTunes. On a Windows PC, Apple publishes both the Apple Devices app and iTunes.
- Open the Finder window on a Mac with macOS Catalina or later.
- Connect your device to your computer.
- Select your device in the left sidebar of the Finder window.
- Click General, then click Check for Update.
- Click Download and Update. Continue following the onscreen instructions.
The steps above are the Finder route. Button labels differ between the Finder, the Apple Devices app and iTunes, so follow the prompts in whichever app your computer uses.