Setup Assistant runs at the end of the installation, whether you upgraded in place or installed clean. It looks like a continuation of the installer and never shows its own name, which is why the screens it puts in front of you can feel like part of macOS 27 Golden Gate itself.
After an in-place upgrade
What happens next depends on how your Mac was previously set up:
- If you had Automatic Login turned on previously, macOS 27 should log you in automatically.
- If Automatic Login was off, your entire screen becomes a login screen. Select (or enter) your username if necessary, enter your password, and press Return to log in. This initial login process may take longer than usual, so be prepared to wait a few minutes before the login screen disappears.
The first time you use macOS 27, the installer’s Setup Assistant app runs, although you won’t see that name; if it appears at all, it looks like a continuation of the installer itself. Setup Assistant may display one or more screens that ask you to make various setup choices.
If you happen to be installing macOS 27 onto an external drive connected to a Mac with a Touch ID sensor, you may see an additional screen here prompting you to set up Touch ID (again).
One choice you’ll see is a Liquid Glass slider, which lets you adjust the transparency for some Liquid Glass interface elements. Set this however you like. (I prefer all the way to the right, the most heavily tinted—or as little transparency as possible.) You can change this later in System Settings; see how to reduce Liquid Glass.
Depending on which version of macOS you’re upgrading from and your previous settings, you may also see one or more additional screens. Those include (not necessarily in this order):
- Sign in with Your Apple Account: Even if you were signed in to iCloud in your previous version of macOS, this screen may prompt you to sign in again. Depending on the circumstances, you may be asked only for your password, or for both your Apple Account username and password. If you don’t want to enter an Apple Account username—and are willing to forgo all iCloud features for the present—select Set Up Later, click Continue, and then click Skip again to confirm. (You can enter this information later, in System Settings > Apple Account.)
- Terms and Conditions: Setup Assistant wants to be sure that you’ve consented to a bunch of additional legalese, so it may invite you to read, study, and agree to one or more statements, such as “macOS Software License Agreement” or “Game Center Terms and Conditions.” Handle these however you want; I’ve found that my lawyer enjoys chatting with me about each paragraph of such agreements in detail (at his usual hourly rates).
- Enable Location Services: If you hadn’t previously enabled Location Services (which is used for iCloud’s Find My Mac feature, Maps, Spotlight suggestions, and numerous other things), a dialog may appear asking whether you’d like to do so. Check “Enable location services on this Mac” if you like (if you leave this disabled, you can enable the setting later in System Settings > Privacy & Security > Privacy > Location Services), or click the “About Location Services & Privacy” link to learn more.
- Analytics: macOS 27 can automatically send diagnostic and usage data to Apple and/or third-party developers to help them track down the causes of crashes and other bugs you may encounter. This information is anonymous and doesn’t contain personal data.
If you want to send this troubleshooting data in the event that a problem occurs, select Send Diagnostics & Usage Data to Apple. With that selected, you may also select Share Crash Data with App Developers. (You can’t share crash data with app developers unless you also share diagnostic data with Apple.)
- Siri: You may see a Siri screen that simply reminds you that you can now say “Siri” instead of “Hey Siri” if you like. If you’re updating from a much older version of macOS without Siri enabled, you may also see a prompt asking whether you’d like Siri to listen for your spoken requests. A second Siri screen, titled Improve Siri & Dictation, could also appear, asking you to give Apple permission to listen to recordings of your voice in order to improve speech-to-text accuracy. For privacy reasons, I recommend selecting Not Now.
You can always enable or disable Siri later: go to System Settings > Siri > Requests once macOS 27 is up and running and choose your desired setting.
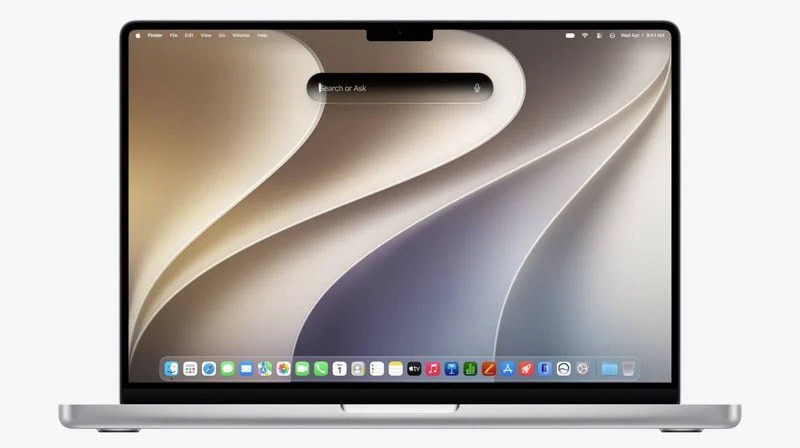
If you had to struggle through any or all of that, here’s when the “Setting Up Your Mac” screen makes its brief appearance. Then Setup Assistant quits automatically, and your macOS 27 desktop appears.
Not sure whether you’ve successfully upgraded since you missed the end of the process? Choose Apple menu > About This Mac. If the window says 27.0 or higher at the top under “macOS,” you’re running macOS 27.
After a clean install
Setup Assistant is an app that looks like a continuation of the macOS 27 Golden Gate installer, and the installer doesn’t display the name “Setup Assistant.” The assistant runs automatically after macOS 27 restarts at the end of the installation process, and walks you through a number of setup and configuration questions. It also offers to transfer files from another Mac or PC, another volume (which can be a bootable or data-only duplicate), or a Time Machine backup. That part is covered in how to use Migration Assistant.
Here’s an overview of the main screens you may see. Depending on your hardware setup and which decisions you make as you work your way through the installer, this list may vary somewhat:
- Hello: A “hello” screen greets you in a series of languages, changing every few seconds. There’s just one button at the bottom of the screen, “Get Started,” which you should click—even if the language has changed and you can’t read what it says!
- Select Your Country or Region: Your first task is to select a country or region on the Welcome screen and click Continue.
- Written and Spoken Languages: In some cases, you may be asked to confirm your preferred written and spoken languages, including those used for your keyboard and dictation.
- Accessibility: This screen gives you a convenient way to set a wide variety of accessibility preferences. Clicking any of the four titles shown (Vision, Motor, Hearing, or Cognitive) leads you through a series of options in that category, each with graphical descriptions of what the options do. You can adjust any or all of these, in any order—or click Not Now if you want to adjust them later in System Settings.
- Select Your Wi-Fi Network: Setup Assistant next looks for a network connection. You see a screen called Select Your Wi-Fi Network. Select the network to which you want to connect and, if required, enter the password. Then click Continue. (If you connect to the internet some other way—or if you have no internet connection—click Other Network Options and select the appropriate option.)
- Data & Privacy: A Data & Privacy screen appears, showing a handshake icon. Read the screen to learn that this icon should appear when an Apple feature is asking for permission to use your personal information. Finally, click Continue.
- Migration Assistant: Next is the Migration Assistant screen, which enables you to transfer files from your backup.
Although you could choose not to transfer your information now and use the standalone Migration Assistant app later, I generally find it quicker and more convenient to do it here. If you’re tempted to skip this step in order to have a completely clean copy of macOS 27, be sure to read about the nuke-and-pave option.
The next steps in Setup Assistant are mostly self-explanatory.
Depending on which version of macOS you’re upgrading from, what information you transferred, and your previous settings, you may see one or more additional screens. Most of these are identical to those described above. After each one, click Continue to advance through the remaining screens.
Regardless of what, if anything, Setup Assistant displays, macOS 27 itself may display any number of dialogs and alerts the first time you use it, such as password prompts, software update messages, and requests to enable various features. To learn how to deal with these and other immediate concerns, see what to do after installing.
Check for proper operation
In all probability, your upgrade will have gone smoothly, and everything will now work more or less the way you expect. However, even if everything looks fine, don’t declare upgrade victory until you have worked through the post-installation tasks, including dealing with any alerts and queries that pop up shortly after installation, checking for software updates, and configuring a few new options in System Settings.
If anything did go amiss, or if you later discover problems that aren’t solved by troubleshooting the upgrade, you can fall back to a clean install.