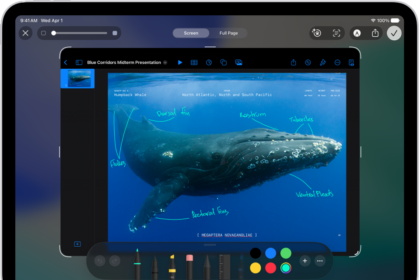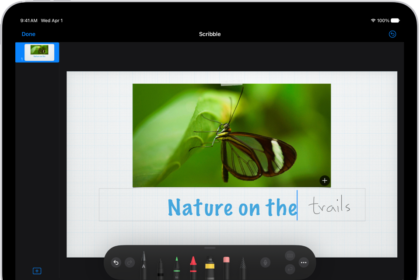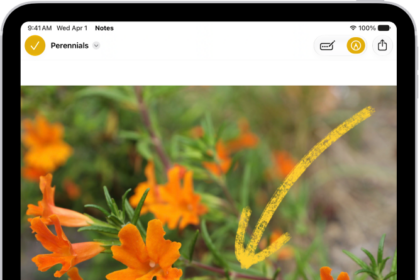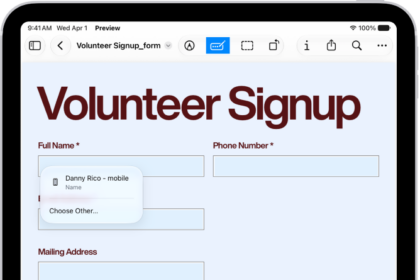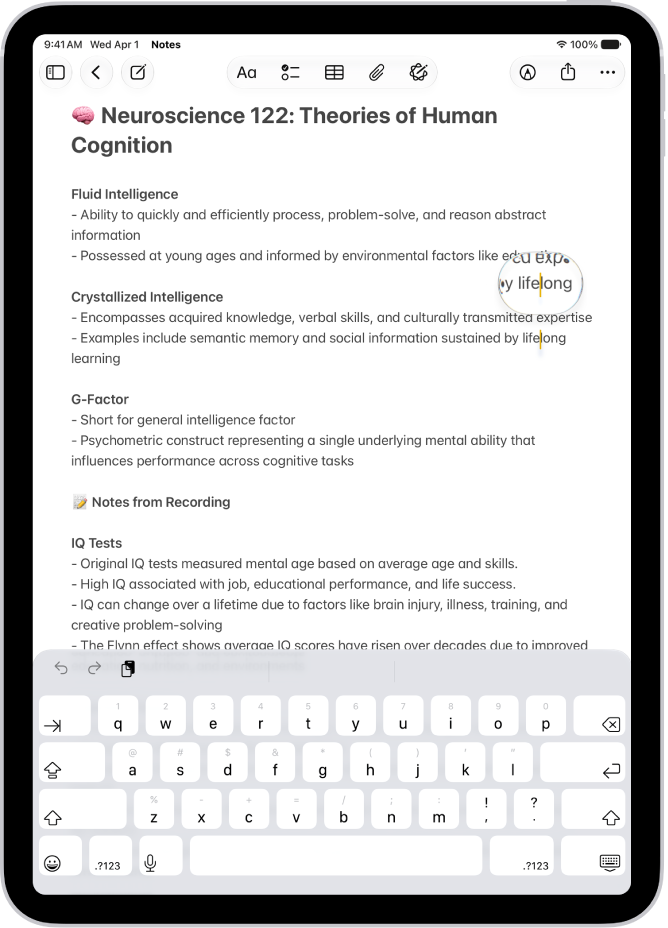
With Hover Text on iPad, you can move the pointer over text and other items on the screen (such as icons) to view a larger version of them. Or use Hover Typing to display a separate window with a larger version of text that you’re typing.
Hover Text works with a pointing device such as a trackpad or mouse, and on supported models, Apple Pencil (2nd generation) or Apple Pencil Pro. You don’t need a pointing device for Hover Typing, and you can customize both.
Before you begin
You’ll need a pointing device, such as a trackpad or mouse, connected to your iPad to use Hover Text. Apple Pencil (2nd generation) or Apple Pencil Pro can also serve as the pointing device on supported iPad models.
You don’t need to connect a pointing device to use Hover Typing.
Show a larger version of text when you hover over it
- Start the Settings app on your iPad.
- Tap Accessibility, tap Hover Text, and then turn on Hover Text.
- Move the pointer over text to display a larger version of it. Or hover the tip of a supported Apple Pencil over the text.
- If you have a connected keyboard, you need to press and hold the Control key to show the Hover Text window.
If you use iPad with a connected keyboard, you can have the Hover Text window automatically displayed when you move the pointer over text, without needing to press and hold a key every time. Go to Settings > Accessibility > Hover Text, then turn on Activation Lock. To use activation lock, quickly press the Control key three times.
You can change the key you press to activate Hover Text and activation lock. Tap Activation Modifier, then choose another key.
Show a larger version of text you’re typing
- Start the Settings app on your iPad.
- Tap Accessibility, tap Hover Text, tap Hover Typing, and turn on Hover Typing.
- As you type in a text entry field, a larger version of what you’re typing is displayed.
To temporarily hide the Hover Typing window, swipe on it. It reappears when you start typing again.
Customize Hover Text
- Start the Settings app on your iPad.
- Tap Accessibility, then tap Hover Text.
- Customize any of the following:
- Display mode: Choose where to show the Hover Text or Hover Typing window—inline (near the cursor), at the top of the screen, or directly above the onscreen keyboard.
- Content: Choose to show Text, Color, or Text & Color.
- Scrolling speed: Choose a faster or slower speed (for scrolling in the Hover Text window when viewing large blocks of text).
- Font: Choose a custom font.
- Size: Adjust the slider to change your preferred reading size.
- Text Color: Choose a text color by Grid, Spectrum, or Sliders.
- Background Color: Choose a background color by Grid, Spectrum, or Sliders.
- Border color: Choose a border color by Grid, Spectrum, or Sliders.
- Activation Modifier: Choose Control, Option, or Command.
- Activation Lock: Turn on Activation Lock.
Customize Hover Typing
- Start the Settings app on your iPad.
- Tap Accessibility and tap Hover Text. Tap Hover Typing.
- Customize any of the following:
- Display mode: Choose where to show the Hover Text or Hover Typing window—inline (near the cursor), at the top of the screen, or directly above the onscreen keyboard.
- Font: Choose a custom font.
- Size: Adjust the slider to change your preferred reading size.
- Text Color: Choose a text color by Grid, Spectrum, or Sliders.
- Insertion Point Color: Choose an insertion point color by Grid, Spectrum, or Sliders.
- Background Color: Choose a background color by Grid, Spectrum, or Sliders.
- Border color: Choose a border color by Grid, Spectrum, or Sliders.
- Misspelled Word Color: Choose a color for misspelled words by Grid, Spectrum, or Sliders.
- Autocorrected Word Color: Choose a color for autocorrected words by Grid, Spectrum, or Sliders.
See also