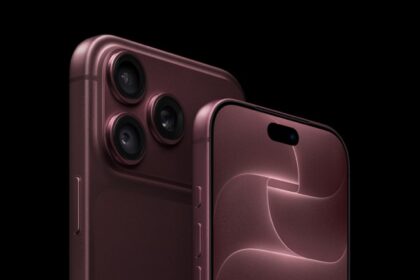
Several iPhone 18 Pro and iPhone 18 Pro Max users have been complaining that they started having Wi-Fi issues after installing the latest iOS 27 update on their devices. If you’re dealing with sluggish internet, a dropping Wi-Fi signal, or the complete inability to connect on your iPhone 18 Pro or iPhone 18 Pro Max, this article covers several steps to fix the problem.
Anyone can encounter Wi-Fi issues unexpectedly. If you’re faced with a Wi-Fi problem you haven’t dealt with before, there’s no need to stress about not knowing how to resolve it. Most Wi-Fi issues can be addressed easily.
There are a few Wi-Fi problems iPhone 18 Pro users say started to occur after the latest iOS 27 update, including:
- Wi-Fi is not working even though the other devices using the same Wi-Fi networks experience no problem connecting to it.
- Wi-Fi does not connect automatically after a restart.
- The iPhone indicates that it is connected to Wi-Fi, but there is no Internet.
- Wi-Fi is extremely slow.
The steps below are in order. Start from the number one and keep going until your issue is resolved.
Step 1: Update your iPhone 18 Pro
Ensure that your iPhone has the latest version of iOS. Apple periodically releases updates to its operating systems. Go to Settings > General > Software Update to check for updates. If there is an update, tap Download and Install and follow the onscreen instructions to update your device.
Please note that even if you have turned on Automatic Updates, you should still do this: with Automatically Install, when an update is available, iPhone downloads and installs it overnight while charging and connected to Wi-Fi.
Step 2: Restart everything
Restart your Wi-Fi router and your iPhone 18 Pro:
- Restart your Wi-Fi router: Restart your router and cable modem by unplugging the devices and then plugging them back in.
- Restart your iPhone: Press and hold either volume button and the side button until the power-off slider appears. Drag the slider, then wait 30 seconds for your device to turn off. To turn your device back on, press and hold the side button until you see the Apple logo.
Step 3: Turn off Private Wi-Fi Address for the network
Private Wi-Fi address is a privacy feature. Your iPhone 18 Pro can use a randomized private MAC address when connecting to Wi-Fi networks for added privacy. Turn this off to see if this can fix the issue. Here is how:
- On your iPhone, tap Settings > Wi-Fi.
- Tap the More Info button next to the affected network.
- Tap Private Wi-Fi Address, then tap Off.
Then see if it is working now. For better privacy, keep using a private address with all networks that support it.
Step 4: Uninstall VPN and security software
If you have VPN or security software installed, uninstall the software, restart your device, and test the Wi-Fi connection. If uninstalling the security or VPN software fixes the issue, but you must use the software, contact your VPN manager or security software provider.
Step 5: Reset network settings
Resetting all network settings on an iPhone 18 Pro means that all network-related settings will be returned to their default configurations. This resets all Wi-Fi networks and passwords, cellular settings, and VPN and APN settings. If you want to do this, go to Settings > General > Transfer or Reset iPhone > Reset > Reset Network Settings and then follow the onscreen instructions.