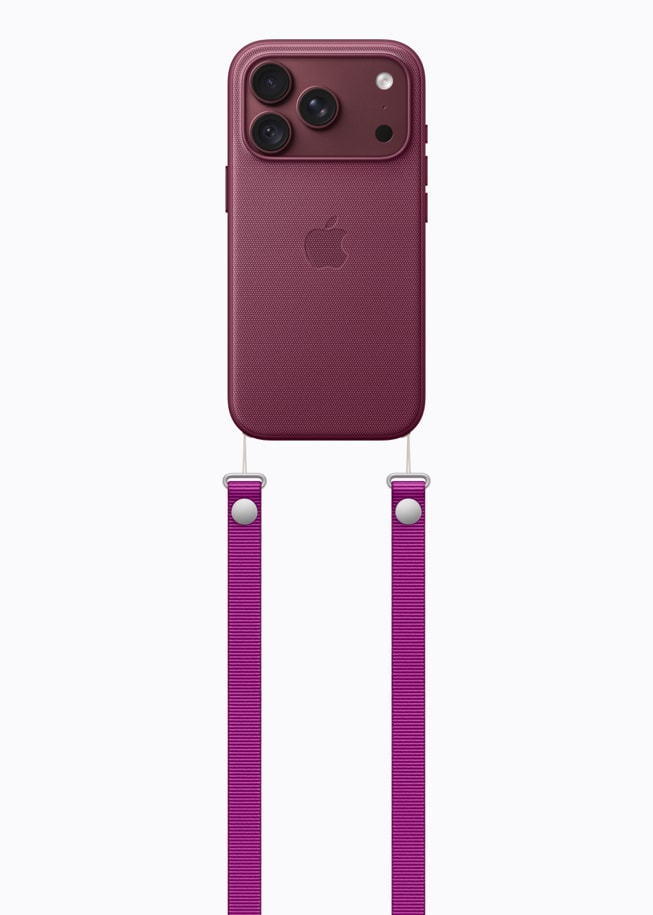
Restoring an iPhone 18 Pro or iPhone 18 Pro Max should be a straightforward process, but sometimes unexpected errors can interrupt it. One such issue is Error 1109, which appears in the middle of the restoration process and prevents the device from completing the update. Many users encounter this error when using a Mac or Windows computer to restore their iPhone 18 Pro or iPhone 18 Pro Max, only to find that their device becomes unusable, as iOS is no longer installed. The full error message reads:
“The iPhone ‘iPhone’ could not be restored. An unknown error occurred (1109).”
This error typically occurs if your computer is unable to communicate with Apple’s software update server. A network issue, firewall restrictions, or server downtime could be preventing your system from verifying the necessary iOS files.
If you’re facing this issue and can’t even turn on your device, don’t worry—there are steps you can take to fix it. In this guide, we’ll go over what causes Error 1109 and how to restore your iPhone 18 Pro or iPhone 18 Pro Max successfully.
1. Update Your Mac, iTunes, or Apple Devices on PC
Before attempting to restore your iPhone again, ensure that your computer is running the latest software. An outdated system or application may prevent proper communication with Apple’s servers, leading to Error 1109.
- On Mac: Go to System Settings > General > Software Update, and install any available macOS updates. If you’re using an older macOS version with iTunes, make sure iTunes is up to date by opening it and checking for updates.
- On Windows (Using iTunes): If you installed iTunes from the Microsoft Store, check for updates there.
- On Windows (Using Apple Devices App): If you’re using the Apple Devices app instead of iTunes, ensure you have the latest version by checking the Microsoft Store for updates.
Once your software is updated, try restoring your iPhone again.
2. Check for Network and Security Software Issues
Error 1109 can occur if your computer is unable to communicate with Apple’s servers due to network restrictions, firewall settings, or security software interference. To resolve this, follow these steps:
Ensure Your Internet Connection is Stable
- Open a web browser and try visiting www.apple.com to confirm you have an active internet connection. If it does not load, contact your Internet service provider for more help.
- If you’re experiencing slow or unstable connectivity, restart your router and modem or contact your Internet Service Provider (ISP) for assistance.
Check Firewall and Security Software Settings
- Some firewalls, VPNs, or security software may block Apple’s software update servers.
- Temporarily disable any third-party security software and try restoring your device again. In some cases, it might be necessary to temporarily remove your security software to isolate an issue.
- If disabling security software resolves the issue, adjust its settings to allow access to Apple’s update servers. Work with your security software provider to allow the full list of ports and services that Apple products use, or to get help uninstalling their software.
Bypass Your Router (If Needed)
Some routers may interfere with iTunes or Finder’s ability to access Apple’s servers. Try these steps:
- Disconnect from your wired or wireless router and use an Ethernet cable to connect your computer directly to your modem.
- Restart your computer and modem. Contact your Internet service provider for instructions on using your modem.
- Attempt to restore your iPhone again.
Check Your Hosts File (on a Mac)
After you update your Mac or update iTunes or Apple Devices to the latest version, check the hosts file to make sure your computer can contact the update server. The steps below are for a Mac. Windows has a hosts file too, in a different location and edited a different way — Apple covers both in its guidance on this error.
- Open the Finder; then, choose Applications, and then Utilities.
- Open Terminal.
- Type sudo nano /private/etc/hosts and press Return.
- Enter the password you use to sign in to your computer and press Return. You won’t see text appear in the Terminal window when you type your password.
- Use the arrow keys to find an entry containing “gs.apple.com”. If you don’t see any entry containing gs.apple.com, then the hosts file isn’t related to the issue.
- Add the # symbol and a space (“# “) to the beginning of the gs.apple.com entry.
- Press Control-O to save the file.
- Press Return when asked for the filename.
- Press Control-X to exit the editor.
- Restart your Mac.
Once your network connection is verified and security software settings are adjusted, try restoring your device to see if the error is resolved.
3. Try a Different Computer and Internet Connection
If you’re still encountering Error 1109, the issue might be specific to your computer or network. To rule this out, try restoring or updating your iPhone on a different computer and internet connection.
- If you’re using a work or school network, restrictions may be in place that prevent communication with Apple’s update servers. Try restoring your device at home or on a personal network.
- If possible, use a friend’s or family member’s computer to attempt the restore. Ensure that their Mac or PC is updated and running the latest version of macOS, iTunes, or the Apple Devices app. Update or restore your device on another computer that uses a different network.
- Try using a mobile hotspot from your iPhone or another device to bypass potential router restrictions. This can help if your home or office network is blocking Apple’s servers.
If switching computers or networks resolves the issue, the problem likely lies with your original setup—such as security settings, firewall rules, or router restrictions. Once you’ve successfully restored your device, you can reconnect it to your primary computer and network as usual.
4. Restore Using the Apple Devices App on Windows
If you’re using a Windows computer, try restoring your iPhone using the Apple Devices app instead of iTunes.
How to Install and Use the Apple Devices App for Restoration
- Open the Microsoft Store on your Windows PC.
- Search for Apple Devices.
- Select the Apple Devices app and click Get to download and install it.
- Once installed, open Apple Devices, connect your iPhone, and follow the on-screen instructions to restore your device.
If you were previously using iTunes and encountered Error 1109, switching to the Apple Devices app might resolve the issue.