


- To charge your AirPods, place them into their case and close it, and then connect the case to a charger.
- You can’t charge AirPods directly — instead, you charge the carrying case, which will charge the AirPods when they’re placed inside.
- If you’re charging your AirPods case with a cable, you can use the same Lightning cable or USB-C cable that you use to charge your iPhone or iPad.
- Some AirPods cases can charge using a wireless charging pad — but only the newer AirPods Pro come with a wireless charging case by default.
Oh, AirPods — maybe Apple’s best product since the iPhone. They’re cordless, convenient, and cool. However, with their relatively short battery life, you’ll want to make sure that you keep your AirPods charged. Thankfully, it’s easy to charge AirPods.
Unlike some devices, you can’t charge the earbuds directly. Instead, you’ll charge the carrying case. Then, when you place your AirPods into their carrying case and close it, power will be transferred from the case to the earbuds.
This means that you don’t have to be connected to a charger to restore your AirPods. You can charge the case up before you travel, then place the AirPods inside of it while on the go.
There are two ways to charge an AirPods case: with a Lightning cable, or with a wireless charging pad.
How to charge your AirPods with a charging cable
If your AirPods model, such as first- and early second-generation versions, didn’t come with a wireless charging case (or you didn’t upgrade it), or if you’re not utilizing the wireless charging capabilities of later models, you’ll be using a cable connection to charge your AirPods or AirPods Pro case, which in turn charges the AirPods. Here’s how.
Step 1: Place the AirPods into their charging case.
AirPods of all kinds come with a charging case, which stores and protect the earbuds while also charging up their batteries. Your first step should always be to place the AirPods back in their charge case.
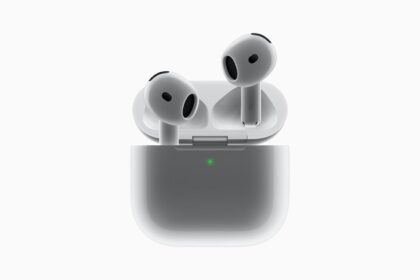
Each case is designed for the AirPods to lock inside in a specific way: Early charging cases have the speaker tips facing out, while the AirPods 3 and AirPods Pro have the speakers facing each other. It should be pretty obvious when your AirPods are inserted the right way, and the status light should blink each time an AirPod is correctly placed.
The exception here is the AirPods Max, which are over-ear headphones that don’t have a charging case. You can just skip this step and find the charging connection located directly on the AirPods Max.
Step 2: Connect your charging case to a power source with a Lightning cable
Every AirPods case has a charging port on the bottom. This port will fit a Lightning cable, or in the case of the latest AirPods Pro, its new USB-C port. That’s how you recharge the case when necessary. Once you have your AirPods linked to a mobile Apple device, you should be able to open the charging case near that device and see an immediate notification of the current battery life for each AirPod and the case itself — handy if you want to know when to recharge ahead of time.
Step 3: Your AirPods came with a Lightning to USB or, again, the AirPods Pro now include a USB-C cable, for charging. You can connect this cable to any compatible adapter (although Apple’s own adapters are highly suggested) or a USB port on your computer. Connect the Lightning or USB-C end to your charging case, and it will begin charging.
See also: How to Change the Name of Your AirPods, AirPods Pro, or AirPods Max
How to charge AirPods with a wireless charging case
Can Airpods be charged wirelessly? That depends on the type of case you have. For the first-generation AirPods, the case that came with that model does not support wireless charging, so you’ll have to use a cable. For the AirPods 2, some versions came without wireless charging, and some upgraded to a wireless charging case (buyers generally had a choice when buying directly from Apple), so you’ll have to check which version you bought. If you have the AirPods 3 or the AirPods Pro, all versions come with a wireless charging case, including the latest USB-C AirPods Pro 2.
Apple offers wireless charging cases on their website that are compatible with first- and second-generation AirPods. Currently you cannot buy a separate wireless charging case for AirPods Pro.
Now all you need is a wireless charger.
If you’ve got a wireless charging case, you’ll need a Qi-compatible charging mat. The good news is that most wireless chargers on the market use the Qi standard, so you have your pick of which model you want.
Apple has its own MagSafe charger, which is compatible with the AirPods case, and there are many other great options from Belkin, Logitech, and other brands. Many even combine wireless charging stands for iPhones, Apple Watches, and AirPods, so you can charge them all in one spot.
Additionally, AirPods 3 and AirPods Pro 2 charging cases work with the Apple Watch charger.
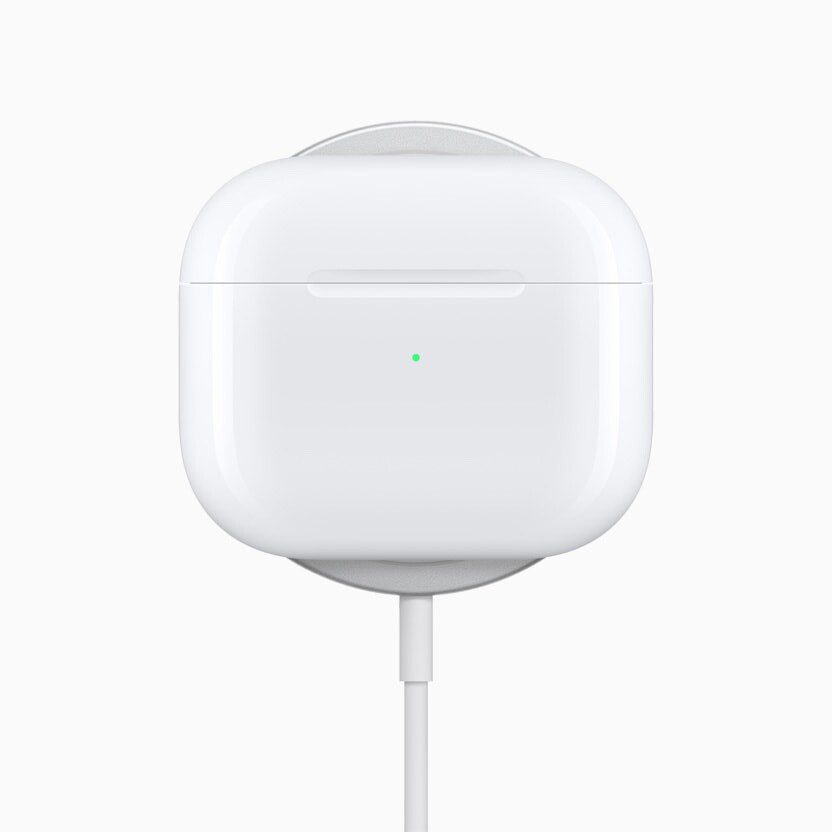
Step 1: Once you have a wireless charging pad, plug it into an outlet and place your AirPod case directly on it with the front/indicator light facing outward. You should be able to tell when the case starts charging because the indicator light will come on and stay on.
If you’re wondering, “How do I charge my AirPods Pro wireless case?” — don’t worry: All these steps apply equally to the AirPods Pro, although the case design is slightly different.
Step 2: Watch the charging status light for more information
You can use your Apple devices’ Bluetooth to keep tabs on the battery life for your case and AirPods, or even estimate their charge using the LED light on the case if you don’t have a paired device with you.
Depending on your AirPods model, you can find the status light outside the case (on the front) or inside it. The only exception is the AirPods Max, where the status light sits next to the Lightning port.
When the case light shines amber, it means less than one charge remains, and it’s time to charge up. To check on the status when charging via cable or wireless pad, pop open the charging case to check on the status light. A green status light indicates that your AirPods case is fully charged.
Just note that wireless charging isn’t as fast as charging with a cable — it might take longer for your case to refill when using a charging mat.


