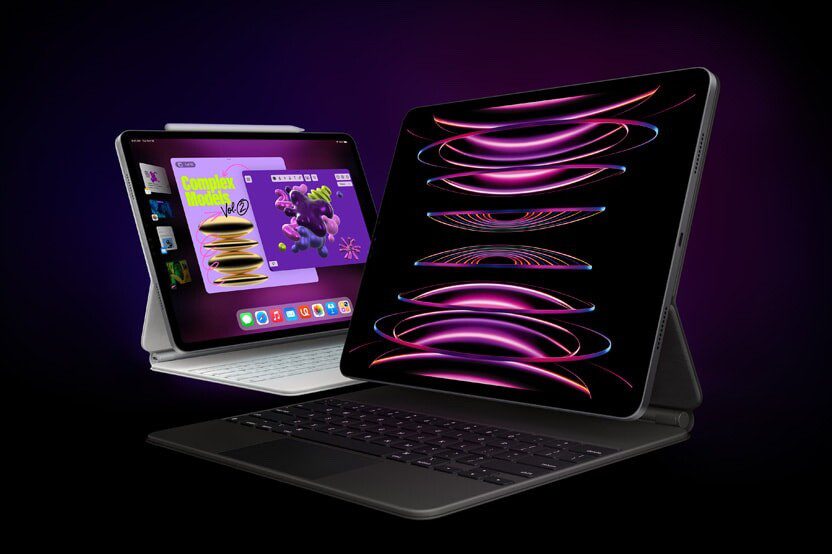
The Apple Pencil is a stylus designed by Apple specifically for use with iPad. Apple Pencils are easy to use and user friendly. They offer precise control and allow you to draw naturally. In this guide, I’ll show you how to connect and pair your Apple Pencil with your iPad.
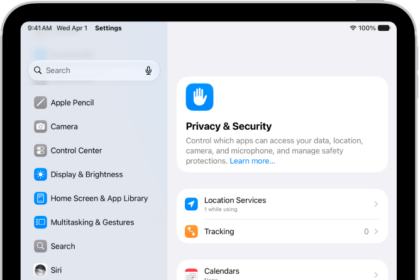
Before you start, make sure your iPad is updated to the latest version of iPad OS and that it has Bluetooth turned on. You also might need to charge your Apple Pencil before it can be paired.
There are four models of Apple Pencil – Apple Pencil Pro, Apple Pencil USB-C, Apple Pencil Second Generation, and Apple Pencil First Generation. Each pencil can only be paired with certain iPad models. We’ll walk you through each pencil’s specific compatibility.
Be aware that each iPad will only ever have two compatible pencils.
Without any further ado, here’s how to identify and pair Apple Pencil Pro, Apple Pencil USB-C, Apple Pencil Second Generation, and Apple Pencil First Generation.
How to pair Apple Pencil Pro with iPad
First, let’s learn how to identify Apple Pencil Pro and how to pair it with your iPad.
Apple Pencil Pro is labeled Apple Pencil Pro and has a matte finish, one flat side, and no ports or connectors.
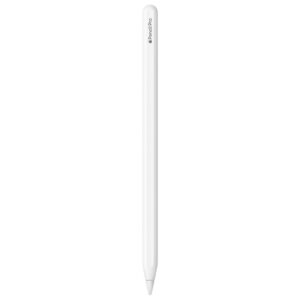
Apple Pencil Pro is compatible with iPad Mini with A17 Pro, 13-inch iPad Air with M2 and M3, 11-inch iPad Air with M2 and M3, 13-inch iPad Pro with M4 and M5, and 11-inch iPad Pro with M4 and M5.
Steps to pair Apple Pencil Pro to your iPad:
- Attach your Apple Pencil to the magnetic connector on the side of your iPad.
- Once an image of your Apple Pencil appears on the screen, it’s paired to your iPad and will begin charging.
- When you are ready to use Apple Pencil, remove it from your iPad and follow the prompts to learn more about the features of your Apple Pencil Pro.
How to pair Apple Pencil USB-C with iPad
Next, let’s learn how to identify Apple Pencil USB-C and how to pair it with your iPad.
Apple Pencil USB-C is labeled Apple Pencil. It has a matte finish, one flat side, and an end that slides open to access the USB-C port.
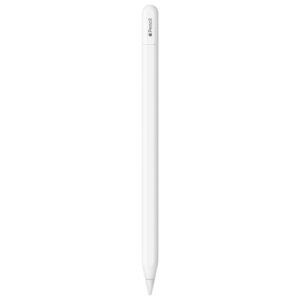
Apple Pencil USB-C is compatible with all iPad models with a USB-C connector. It’s compatible with iPad with A16, iPad 10th generation, iPad Mini with A17 Pro, iPad Mini 6th generation, 13-inch iPad Air with M2 and M3, 11-inch iPad Air with M2 and M3, iPad Air 4th and 5th generation, 13-inch iPad Pro with M4 and M5, 11-inch iPad Pro with M4 and M5, 12.9-inch iPad Pro 3rd to 6th generation, and 11-inch iPad Pro 1st to 4th generation.
Steps to pair Apple Pencil USB-C with your iPad:
- Slide open the end of your Apple Pencil.
- Connect the USB-C cable into the port and plug the other end of the cable into your iPad.
- A notification will appear on your screen indicating Apple Pencil is connected and it will begin charging.
- Disconnect the cable from your Apple Pencil and follow the prompts to learn more about your Apple Pencil USB-C.
How to pair Apple Pencil 2nd generation with iPad
Now let’s learn how to identify Apple Pencil 2nd generation and how to pair it with your iPad.
Apple Pencil 2nd generation is labeled Apple Pencil and has a matte finish, a flat side, and no ports or connectors.
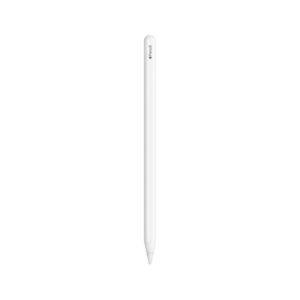
Apple Pencil 2nd generation is compatible with iPad Mini 6th generation, iPad Air 4th and 5th generation, 12.9-inch iPad Pro 3rd to 6th generation, and 11-inch iPad Pro 1st to 4th generation.
Steps to pair your Apple Pencil 2nd generation with your iPad:
- Attach your Apple Pencil to the magnetic connector on the side of your iPad.
- Once an image of your Apple Pencil appears on the screen, it’s paired and will begin charging.
- When you are ready to use your Apple Pencil, remove it from your iPad and follow the prompts to learn more about your Apple Pencil 2nd generation.
How to pair Apple Pencil 1st generation with iPad
Finally, let’s learn how to identify Apple Pencil 1st generation and how to pair it with your iPad.
Apple Pencil 1st generation is round with a smooth finish and has a removable cap covering the lightning connector.
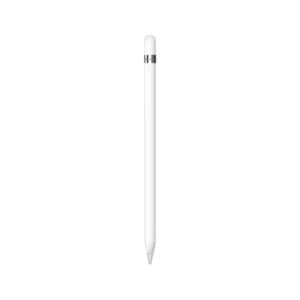
Apple Pencil 1st generation is compatible with iPad with A16, iPad 6th to 10th generation, iPad Mini 5th generation, iPad Air 3rd generation, 12.9-inch iPad Pro 1st and 2nd generation, 10.5-inch iPad Pro, and 9.7-inch iPad Pro. To pair it, remove the cap from the lightning connector.
If you have an iPad 10th generation or iPad with A16, you will use the USB-C to Apple Pencil adapter to connect.
Steps to pair your Apple Pencil 1st generation with your iPad:
- Plug your Apple Pencil into one side of the adapter and a USB-C cable into the other side.
- Plug the other end of the cable into your iPad.
- Apple Pencil will begin charging.
- When the Bluetooth pairing request alert appears, tap Pair.
- Now, unplug your Apple Pencil from the adapter and follow the prompts to learn more about your Apple Pencil 1st generation.
Steps to pair your Apple Pencil 1st generation with other compatible iPad models:
- Plug your Apple Pencil directly into the lightning port on your iPad. Apple Pencil will begin charging.
- When the Bluetooth pairing request alert appears, tap Pair.
- Remove your Apple Pencil from your iPad and follow the prompts to learn more about your Apple Pencil 1st generation.
If your Apple Pencil won’t pair with your iPad
- Connect your Apple Pencil to your iPad:
- With Apple Pencil Pro or Apple Pencil (2nd generation): Center your Apple Pencil on the magnetic connector.
-
With Apple Pencil (1st generation) and iPad (6th through 9th generations): Remove the cap and plug your Apple Pencil into the Lightning connector on your iPad.
-
With Apple Pencil (1st generation) and iPad (10th generation): Remove the cap and plug your Apple Pencil and a USB-C cable into the USB-C to Apple Pencil Adapter. Plug the other end of the cable into your iPad.
-
Keep the Pencil connected to your iPad, then restart your iPad and try pairing your Apple Pencil again. How you restart your iPad differs based on whether your iPad has a Home button or not:
- iPad without a Home button: Press and hold one of the volume buttons and the top buttons together until the power-off slider appears. Drag the slider and wait about 30 seconds so that your iPad turns off fully. Then, press and hold the top button until you see the Apple logo.
-
iPad with a Home button: Press and hold the top button until you see the power-off slider. Drag the slider and wait for your iPad to turn off. Then, press and hold the top button again until the Apple logo appears.
-
Go to Settings > Bluetooth and make sure that Bluetooth is turned on.
-
On the same screen, find your Apple Pencil under My Devices. If you find it, tap info button. Then tap Forget this Device.
-
Connect your Apple Pencil into your iPad and tap the Pair button when it appears after a few seconds.
-
If the Pair button doesn’t appear, wait for one minute while your Apple Pencil charges. Then try connecting your Apple Pencil again and wait until the Pair button appears.
-
If your Apple Pencil Pro or Apple Pencil (2nd generation) still does not pair, remove any cases or covers from the iPad, then try to pair again.
-
If the Pair button still doesn’t appear, you might need to contact Apple support for further help.
Apple Pencil and iPad, a perfect pair.