


Cellular Data is not working on your iPad and you aren’t sure why. Cellular Data allows you to surf the web, send iMessages, and much more even when your iPad isn’t connected to Wi-Fi. In this article, I’ll show you what to do when iPad Cellular Data is not working so you can fix the problem for good!
Turn Off Airplane Mode
The first thing you should do when cellular data is not working on iPad is to make sure that Airplane mode is turned off. When Airplane Mode is turned on, Cellular Data is automatically turned off.
To turn off Airplane Mode, open the Settings app and turn off the switch next to Airplane Mode. You’ll know Airplane Mode is off when the switch is white and positioned to the left.
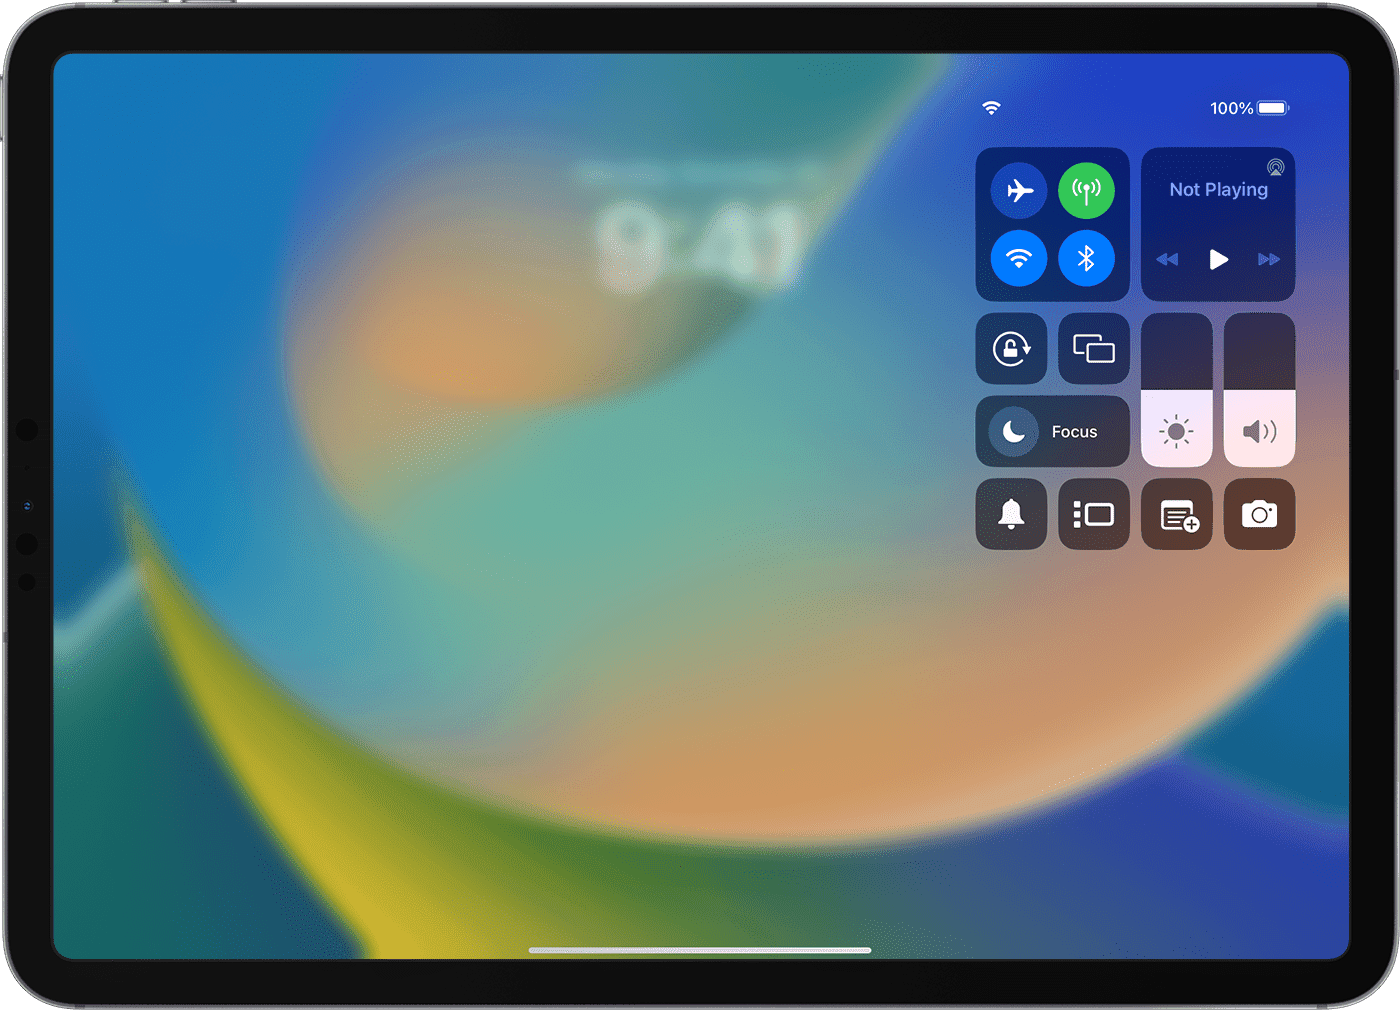
You can also turn off Airplane Mode by opening Control Center and tapping the Airplane Mode button. You’ll know Airplane Mode is off when the button is gray and white, not orange and white.
Turn On Cellular Data
Now that we’re sure Airplane Mode is off, let’s make sure cellular data is on. Go to Settings > Cellular Data and turn on the switch next to Cellular Data at the top of screen. You’ll know Cellular Data in on when the switch is green.
If Cellular Data is already on, try toggling the switch off and back on. This will give Cellular Data a fresh start, just in case it’s not working because of a minor software glitch.
Restart Your iPad
If iPad Cellular Data is not working even though it’s turned on in the Settings app, try restarting your iPad. It’s possible your iPad’s software or a specific app has crashed, preventing Cellular Data from working.
If your iPad doesn’t have a Home button, press and hold either volume button and the top button until “slide to power off” appears on the display. If your iPad has a Home button, press and hold the top button until “slide to power off” appears.
Then, slide the red and white power icon from left to right to turn off your iPad. Wait a few seconds, then press and hold the top button until the Apple logo appears on the screen.
Check For A Carrier Settings Update
Our next step when iPad Cellular Data is not working is to check for a carrier settings update. Apple and your wireless carrier release updates to help your iPad connect to your wireless carrier’s network more efficiently.
Usually when a carrier settings update is available, you’ll receive a pop-up on your iPad that says “Carrier Settings Update”. Whenever this pop-up appears on your iPad, always tap Update.
You can also manually check for a carrier settings update by going to Settings > General > About. If a carrier settings update is available, a pop-up will appear on your display within 15 seconds. If no pop-up appears, there probably isn’t a carrier settings update available, so let’s move onto the next step.
Eject and Reinsert Your SIM Card
If your iPad has a physical SIM card tray (older models only — all current-generation iPads, including the iPad A16, iPad Pro M4 and later, iPad Air M2 and later, and iPad mini A17 Pro, are eSIM-only and do not have a SIM tray), sometimes removing and reinserting the SIM can give it a fresh start and second chance to connect to your wireless carrier’s network correctly.
Removing a SIM card can be a bit tricky because the SIM card tray on the side of your iPad is so small. Insert a paper clip or SIM eject tool into the small hole of the SIM tray, then push in toward iPad to eject the tray. Remove the SIM, wait a moment, then reinsert it and push the tray back in.
If your iPad uses eSIM, try toggling your cellular plan off and back on. Go to Settings > Cellular Data, tap your plan, then turn it off and on again. You can also try removing and re-adding your eSIM through your carrier if the problem continues.
Reset Network Settings
If Cellular Data still isn’t working on your iPad after you’ve reinserted your SIM card, it’s time to troubleshoot for a more significant software issue. When you reset network settings, all of your Cellular, Wi-Fi, APN, and VPN settings are restored to factory defaults. After resetting the network settings, it’ll be like you’re connecting your iPad to your carrier’s cellular network for the very first time.
To Reset Network Settings on an iPad, go to Settings > General > Transfer or Reset iPad > Reset > Reset Network Settings. Then, tap Reset Network Settings when the confirmation pop-up appears.
After tapping reset network settings, your iPad will restart. When your iPad turns back on, the network settings have been reset!
DFU Restore Your iPad
If resetting network settings didn’t fix your iPad’s Cellular Data issue, our final software troubleshooting step is to perform a DFU restore. A DFU restore will erase, then reload all of the code on your iPad and reset everything to factory defaults. Before performing a DFU restore, we recommend saving a backup of the data on your iPad so you don’t lose any important information.
See also: How to Put iPad in DFU Mode (All Models)
Contact Your Wireless Carrier
If you’ve made it this far and iPad Cellular Data is not working, it’s time to contact your wireless carrier. It’s possible that cellular data isn’t working because your wireless carrier is doing maintenance on their cell towers. Search for your carrier’s customer support number and give them a call to see if they can help you fix the problem.
Cellular Data: Working Again!
Cellular Data is working again and you can continue to browse the web and send iMessages using wireless data! Next time iPad Cellular Data is not working, you’ll know exactly where to come for the solution. Thanks for reading!


