


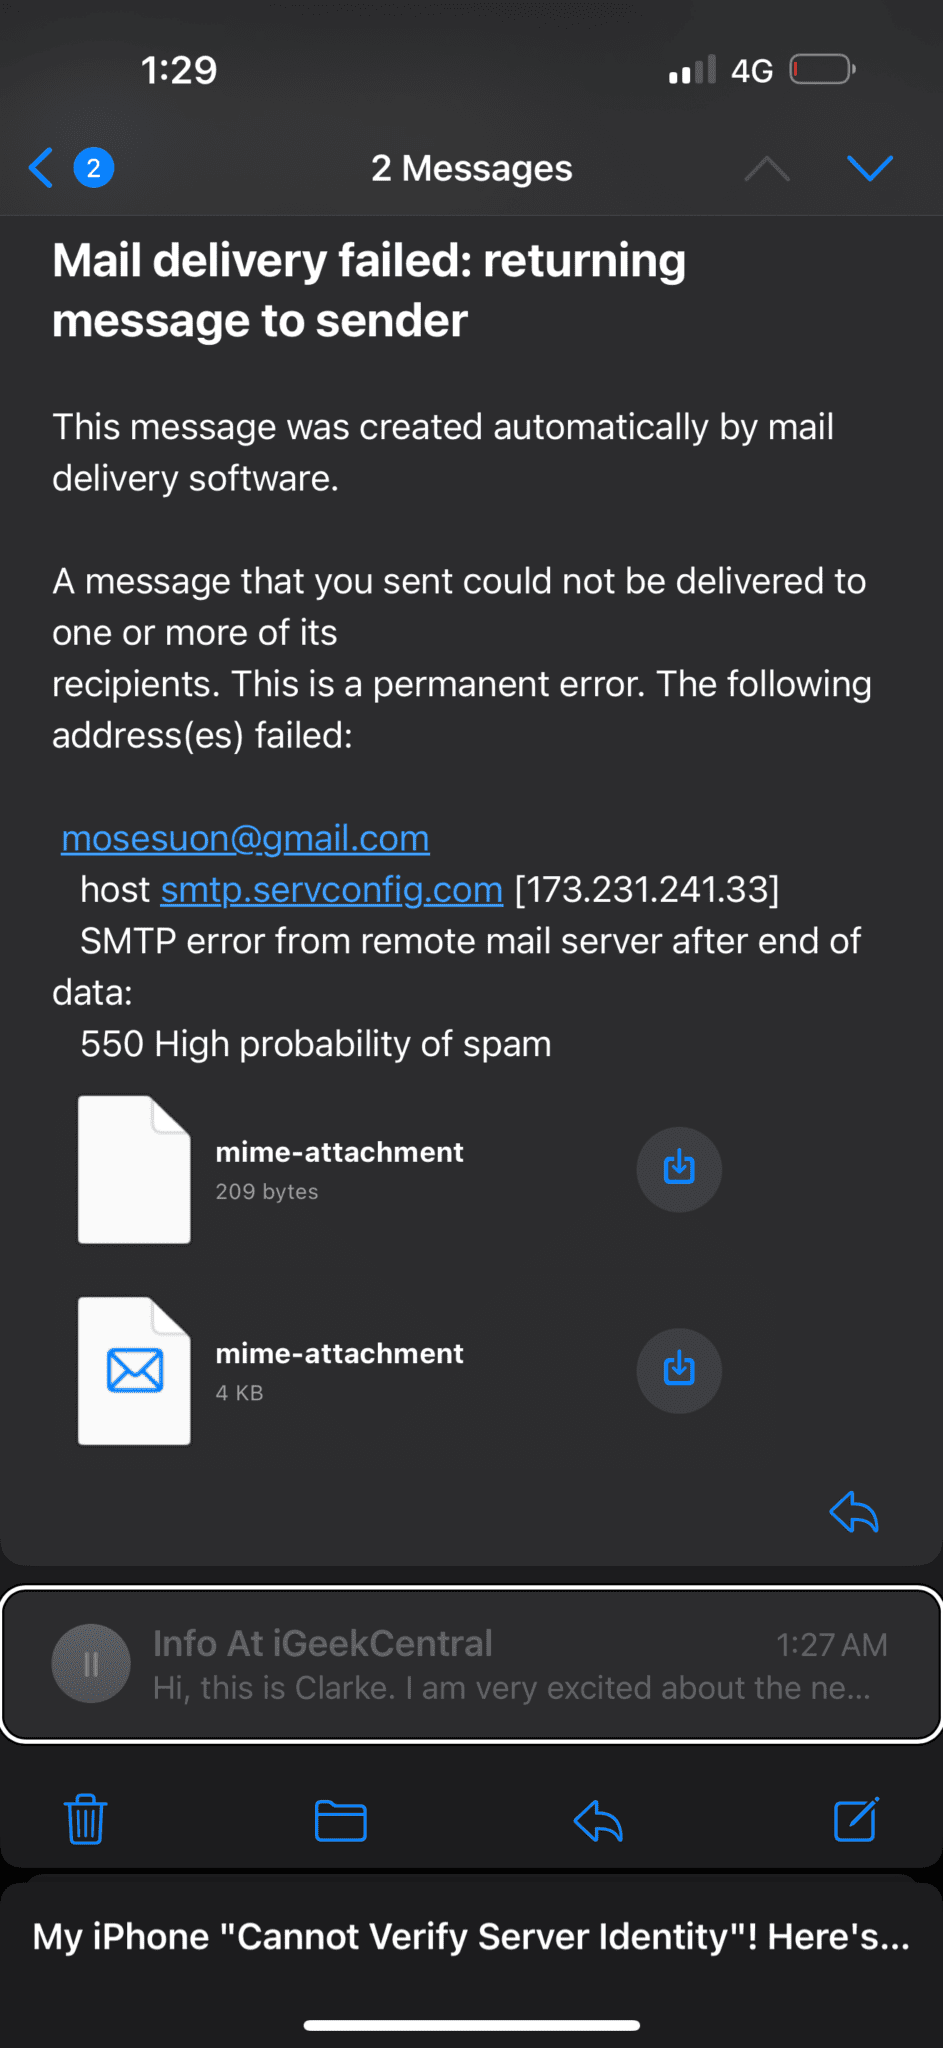
Seeing the “Cannot Verify Server Identity” error message appear on your iPhone is unsettling, but it’s actually a common issue. For me, these pop-ups randomly came up while I was using Safari and Mail. The error message says: “Cannot Verify Server Identity. The identity of “mail.geekschalk.com” cannot be verified.” Don’t worry—your device isn’t necessarily under attack. Here are some troubleshooting steps that helped me remove these errors for good.
How To Fix the “Cannot Verify Server Identity” Error
Unsubscribe From Calendar Events
Persistent “Cannot Verify Server” pop-ups that keep appearing on your iPhone despite whatever app you use are likely coming from Calendar. Simply unsubscribe to your calendar event to fix this issue.
- Open the Calendar app.
- In the Calendar app, tap Calendars.
- Tap the info button on the subscribed calendar.
- Tap Delete Calendar or Unsubscribe.
Check that your time and date are correct
If you receive an alert saying that your iPhone “cannot verify server identity,” check that your date and time are correct. If the time and date on your iPhone are wrong, it can mess with your connection to email servers. You can fix this through the Settings app.
- Tap Settings > General > Date & Time.
- Make sure that the Set Automatically button is toggled on. If it’s not, swipe it to the right and restart your device.
Change or Reset Your Connection
The next thing to try is a different internet connection or a reset of your connection. Although both your device and the mail server may be fine, it’s possible that your local internet connection has developed an issue.
Most connection issues to an Internet Service Provider (ISP) are resolved by disconnecting from it, waiting a few minutes, and then connecting again. Turn off your router and your modem (if they are separate devices), wait a minute or so, and then turn everything on again. For a completely clean new slate, consider resetting your network connection on-device as well.
Close The Mail App, Then Reopen It
iOS is aggressive about keeping an app’s memory state in long-term storage. So there’s a good chance that your Mail app has not been closed for months or even years.
- Swipe up from the bottom of your screen until the app carousel appears.
- Swipe right until you find the Mail app, and swipe the app itself up to kill it.
- Then open it again to see if that resolved the issue.
Restart Your iPhone
Restarting your device is a common broad troubleshooting tip, but something that a surprising number of people forget to do when having problems with their technology.
- iPhone X, 11, 12, 13, 14, 15 and 16: Press and hold the Side button and the volume up (or down) button together until the power off slider appears. Then drag the onscreen slider. Wait until your device completely shuts down. Then press and hold the Side button until you see the Apple logo.
- iPhone 8, 7, 6S, or earlier models: Press and hold the power (side or top) button until you see the power off slider. Then drag the slider. Wait about 30 seconds to make sure that your device is turned off. Then press and hold the power button until the Apple logo appears to turn on your device.
Check for iOS Updates
Mail is a native iOS app, so when you update iOS you also get a new version of Mail and all the other bundled iOS applications. If your server error is the result of an outdated app or a bug in iOS or the app, an update is a fast way to resolve the issue.
Here is how you can check and update your iPhone:
- On your iPhone, tap Settings > General > Software Update.
- If there is an update available, tap Download and Install or Update Now and then follow the onscreen instructions.
Check If the Server Is Really Down
An error that tells you that the server isn’t acting the way it should may really be the result of a server malfunction. Check with your email service provider (Gmail, Hotmail, Yahoo, AOL, or your Exchange / IT admin) to see if there’s a service outage. You can also check if the email server is down using DownDetector.com. This tool will let you know if the service provider for the problematic account is online or not.
Using DownDetector is relatively simple. All you have to do is type the name of your email provider into the site’s search bar and it will return a result telling you whether other users are also complaining or unable to access their accounts.
If your email is provided by a private server, such as your company email server, you won’t find that information here. Instead, you’ll have to get in touch with the helpdesk or system administrator for that email server.
Clear Safari Website Data
The website data stored on Safari sometimes gets corrupted, and the browser may not be able to establish a secure connection. In these cases, you’ll need to clear your website data.
- On your iPhone, tap Settings > Apps > Safari.
- Tap Clear History and Website Data.
- Select All history, and then tap Clear History.
Disable SSL
While we don’t recommend it in general, it does appear that some iPhone users have managed to get rid of Cannot Verify Server Identity errors by disabling SSL (Secure Socket Layer) encryption for the problematic account. However, if you do this it means that your emails can be intercepted and read, so tread carefully.
- Open the Settings app and go to Apps > Mail > Mail Accounts.
- Tap the email account that is giving you this problem.
- Tap Account Settings.
- Choose Advanced.
- Under the "Incoming Settings" section, change the "Use SSL" toggle to the off position.
- Then exit Settings, and restart the Mail app and test again if this issue occurs again.
Delete Your Email Account, Then Add The Email Account Again
If “Cannot Verify Server” errors still pop up on your iPhone, you might want to remove the email account from your device entirely and then add it back again.
- On your iPhone, tap Settings > Apps > Mail > Mail Accounts.
- Tap the email account that is problematic (that we will delete).
- Tap Delete Account.
Now your account is deleted, let’s add your account again. There are two ways to add an email account:
- Automatic.
- Manual.
What you can do is to try the automatic option first since it is easier, and then test your problem. If you are still having the problem, delete the account and add your account again manually.
Here is how you can add automatically:
- On your iPhone, tap Settings > Apps > Mail > Mail Accounts.
- Tap Add Account.
- Tap your email account (iCloud, Microsoft Exchange, Google, Yahoo, AOL, Outlook, etc).
- Then follow the onscreen instructions.
And here is you can add your email account manually:
- Tap Settings > Apps > Mail > Mail Accounts.
- Tap Add Account.
- Tap Other.
- Tap Add Mail Account.
- And follow the onscreen instructions. Make sure that you enter the email account details correctly. If you are not sure about the details, again you may want to contact your email service provider.
If that doesn’t work, and you’re still seeing the “iPhone Cannot Verify Server Identity” error, you may have to consider a factory reset of your phone , but before you take such a drastic step triple-check your account details and check with your mail provider to see if there are any known issues.
Wrapping Up
You’ve fix the problem and Cannot Verify Server Identity error is no longer appearing on your iPhone. Next time your iPhone “cannot verify server identity,” you’ll know exactly what to do. However, if the “Cannot Verify Server Identity” error still pops up on your iPhone after trying these troubleshooting steps, contact Apple Support for further help. Your device might have a hidden hardware or software issue.


