


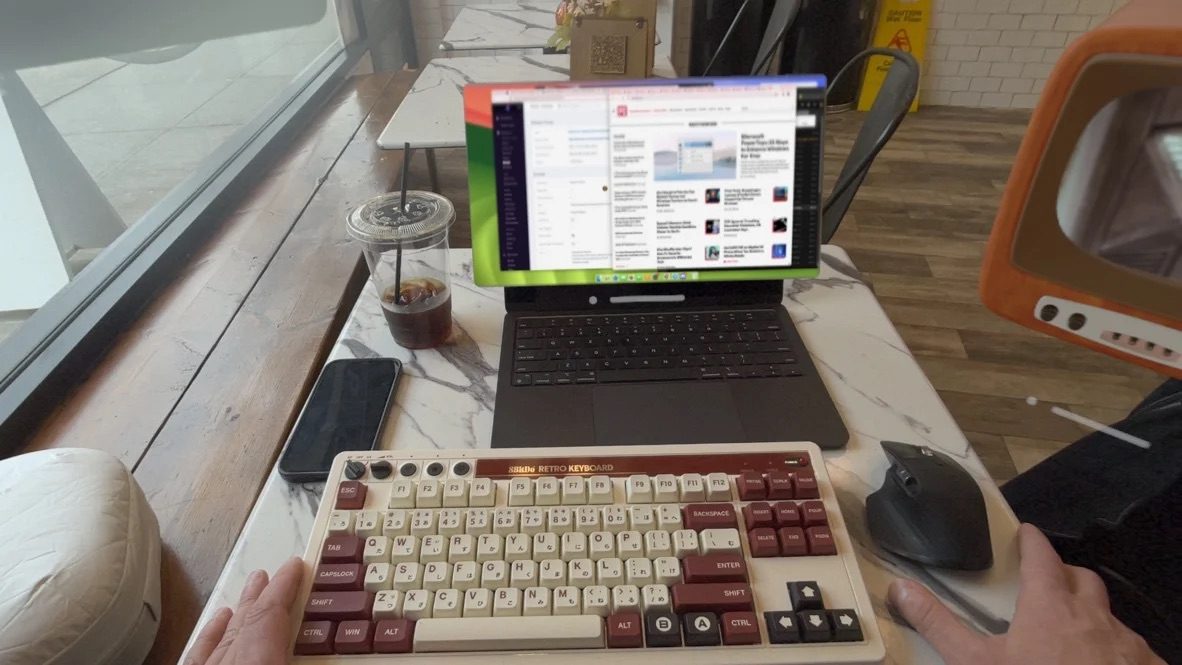
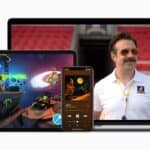
The Apple Vision Pro is a truly amazing product that delivers futuristic eye- and hand-tracking interface along with breathtaking 3D video and truly impressive AR apps. however, the Vision Pro isn’t terribly effective on its own. The good news is that you can pair it with a Mac or a MacBook to take full advantage of its power and software flexibility, and get a lot more work done.
Mac Virtual Display is a feature that wirelessly connects the Vision Pro to a Mac. It takes whatever would be shown on your computer screen and displays it in the Vision Pro as a floating window you can freely move, resize, and use alongside other apps on the headset. It’s incredibly helpful if the apps you use for productivity aren’t available on the Vision Pro itself, and it offers much more control over managing multiple apps at once than visionOS alone provides.
How to Connect the Apple Vision Pro to a Mac
Before you start, make sure your Mac is up-to-date. You can use any Mac with macOS Sonoma or later. You need to be signed into your Mac and your Apple Vision Pro with the same Apple ID and have Two-Factor Authentication turned on. Both devices need Wi-Fi, Bluetooth, and iCloud Keychain, which are all on by default. Now you’re ready to start using Mac Virtual Display in your Apple Vision Pro.
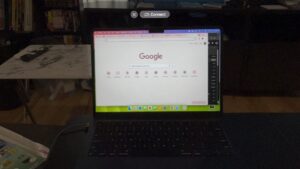
Step 1: Look at Your MacBook and Select the Connect Button
To start with an empty workspace, you can press the Digital Crown to close the home view. Then, look at your Mac laptop, which should be open and active. When the Connect button appears above the display, just look at it and tap to connect. Now you have a lot more room to work.
Step 2: Look Up to Open the Control Center
You can also turn on Mac Virtual Display in Control Center. To connect to a Mac desktop or laptop in your Apple Vision Pro, look up to find the Control Center button at the top of your view, and tap to open it.
Tip: The Control Center is the floating downward-facing arrow.
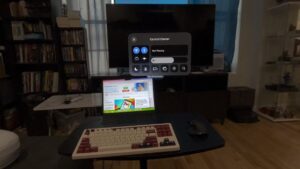
Step 3: Select Mac Virtual Display
Look at Control Center in the menu and tap to open the controls. Look at Mac Virtual Display and tap to select it.
Tip: The Mac Virtual Display button is the laptop icon behind a Vision Pro.
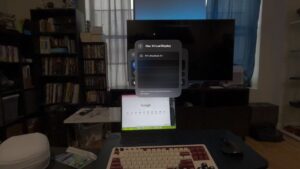
Step 4: Select Your Mac
Finally, just look at your Mac in the list of devices and tap to connect to it.
Step 5: Start Working
Once connected, your Mac display will appear as a window in Apple Vision Pro. To move it, look at the bottom of the window, then pinch and drag the window bar that appears. To resize it, look at one of the bottom corners and then pinch and drag.
When you’re ready to end your Mac Virtual Display session, just look at the Close button at the bottom of the window and tap to disconnect from your Mac.
That’s how to bring your Mac right into your Apple Vision Pro with Mac Virtual Display.
To learn more about Apple Vision Pro, check out our Apple Vision Pro articles below and keep reading.


